Howto: Create and run a bootable Linux Live-Session/Installer
Since my entry into Linux back when Red Hat 7.x was new, getting a Linux system 1) installed, and 2) configured has definitely come a long way to where we are today. Back then, you were lucky to get a GUI-based installer (or sometimes UN-lucky if it wasn’t stable). Trying out a Linux system meant you had to partition a hard drive or add a second hard drive, go through the install steps, and hunt down various drivers and spend lots of time on the Google and editing configuration files to get the system just right.
Today, most modern distributions (e.g. Debian, Ubuntu, Mint, Fedora, etc) offer a Live-Session/Installer image, that you an run from a burned CD or USB flash drive that after a few minutes presents you a fully operational Linux environment: it connects to network, and has usual browsers, base productivity software, and file management programs ready to launch.
It can also read/write most drives (FAT32, NTFS), which is useful for recovering data from a computer that has a corrupt/non-startable system disk.
One thing that has changed over the years, is the initial boot procedure. It used to be universal to:
- Download *.iso image from your favorite distribution
- Burn a CD-ROM, or DVD-ROM disc
- Boot that disc on the target x86/x86_x64 computer.
And if your intended computer still has a bootable optical drive (and your “downloading” computer also has a optical burner drive), these steps are still applicable.
BUT: if either the “downloading” or “target” computer does not have an optical drive, we’ll have to boot off a USB flash drive.
I’m all about getting most value from old computer hardware, but if you’re reading this and considering a computer that does not support USB booting, and you can’t get a CD/DVD drive attached to it, it might be really past its expected life.
Navigate to the download page for your distro. If you want a recommendation, I suggest Linux Mint Xfce. Ubuntu is the more mainstream/popular distro, is typically the most tested-against by other software providers, and has a strong online usage community. Mint is based off of Ubuntu’s LTS releases, but doesn’t necessarily follow along with every new thing that Cononical Ltd. chases.
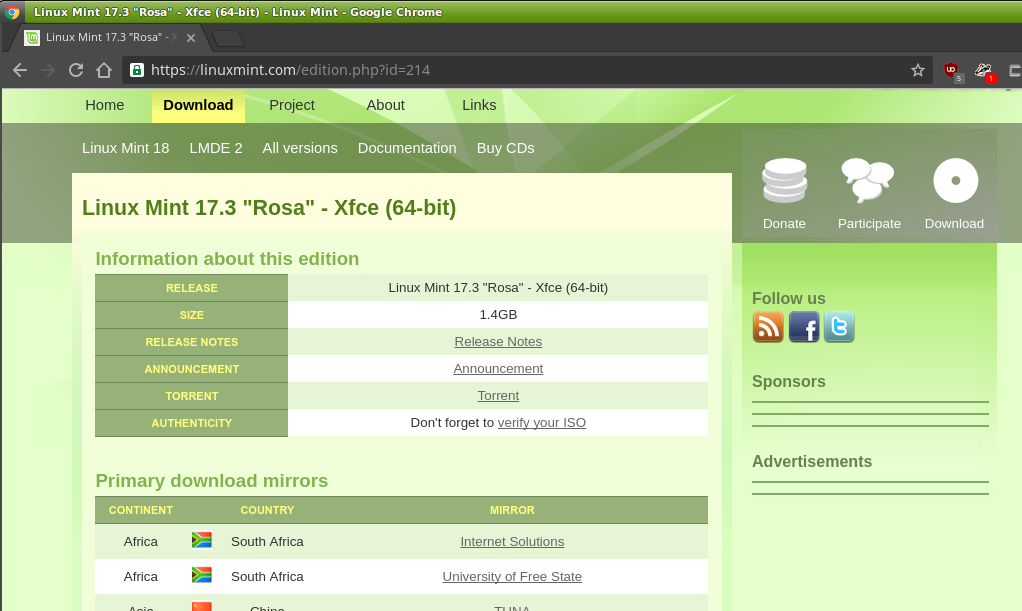
Download the ISO, and create a burned DVD using utility provided by your downloading computer’s system.
For creating a bootable USB flash drive, get a sizable flash drive, and check out UNetbootin, which is available for Windows, Mac, and Linux.
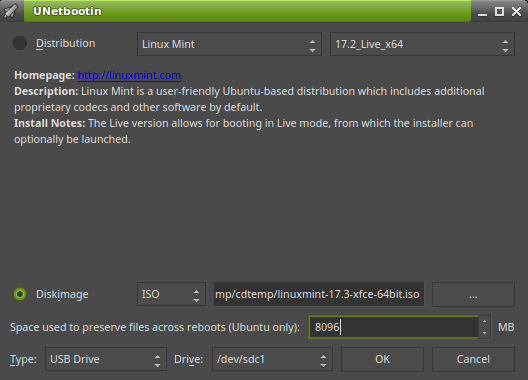
UNetbootin is a click-thru utility that will create a bootable USB drive from either your own downloaded image, or it will download one for you if listed within their pulldown menu. You’ll have to insert a FAT32 (not exFat) USB drive for use with UNetbootin.
Onward to the “target” computer. Power on the computer. Insert your disc or USB drive into the computer.

Configure the boot device for your disc or USB drive. This may involve either bringing up the boot menu and/or entering BIOS.
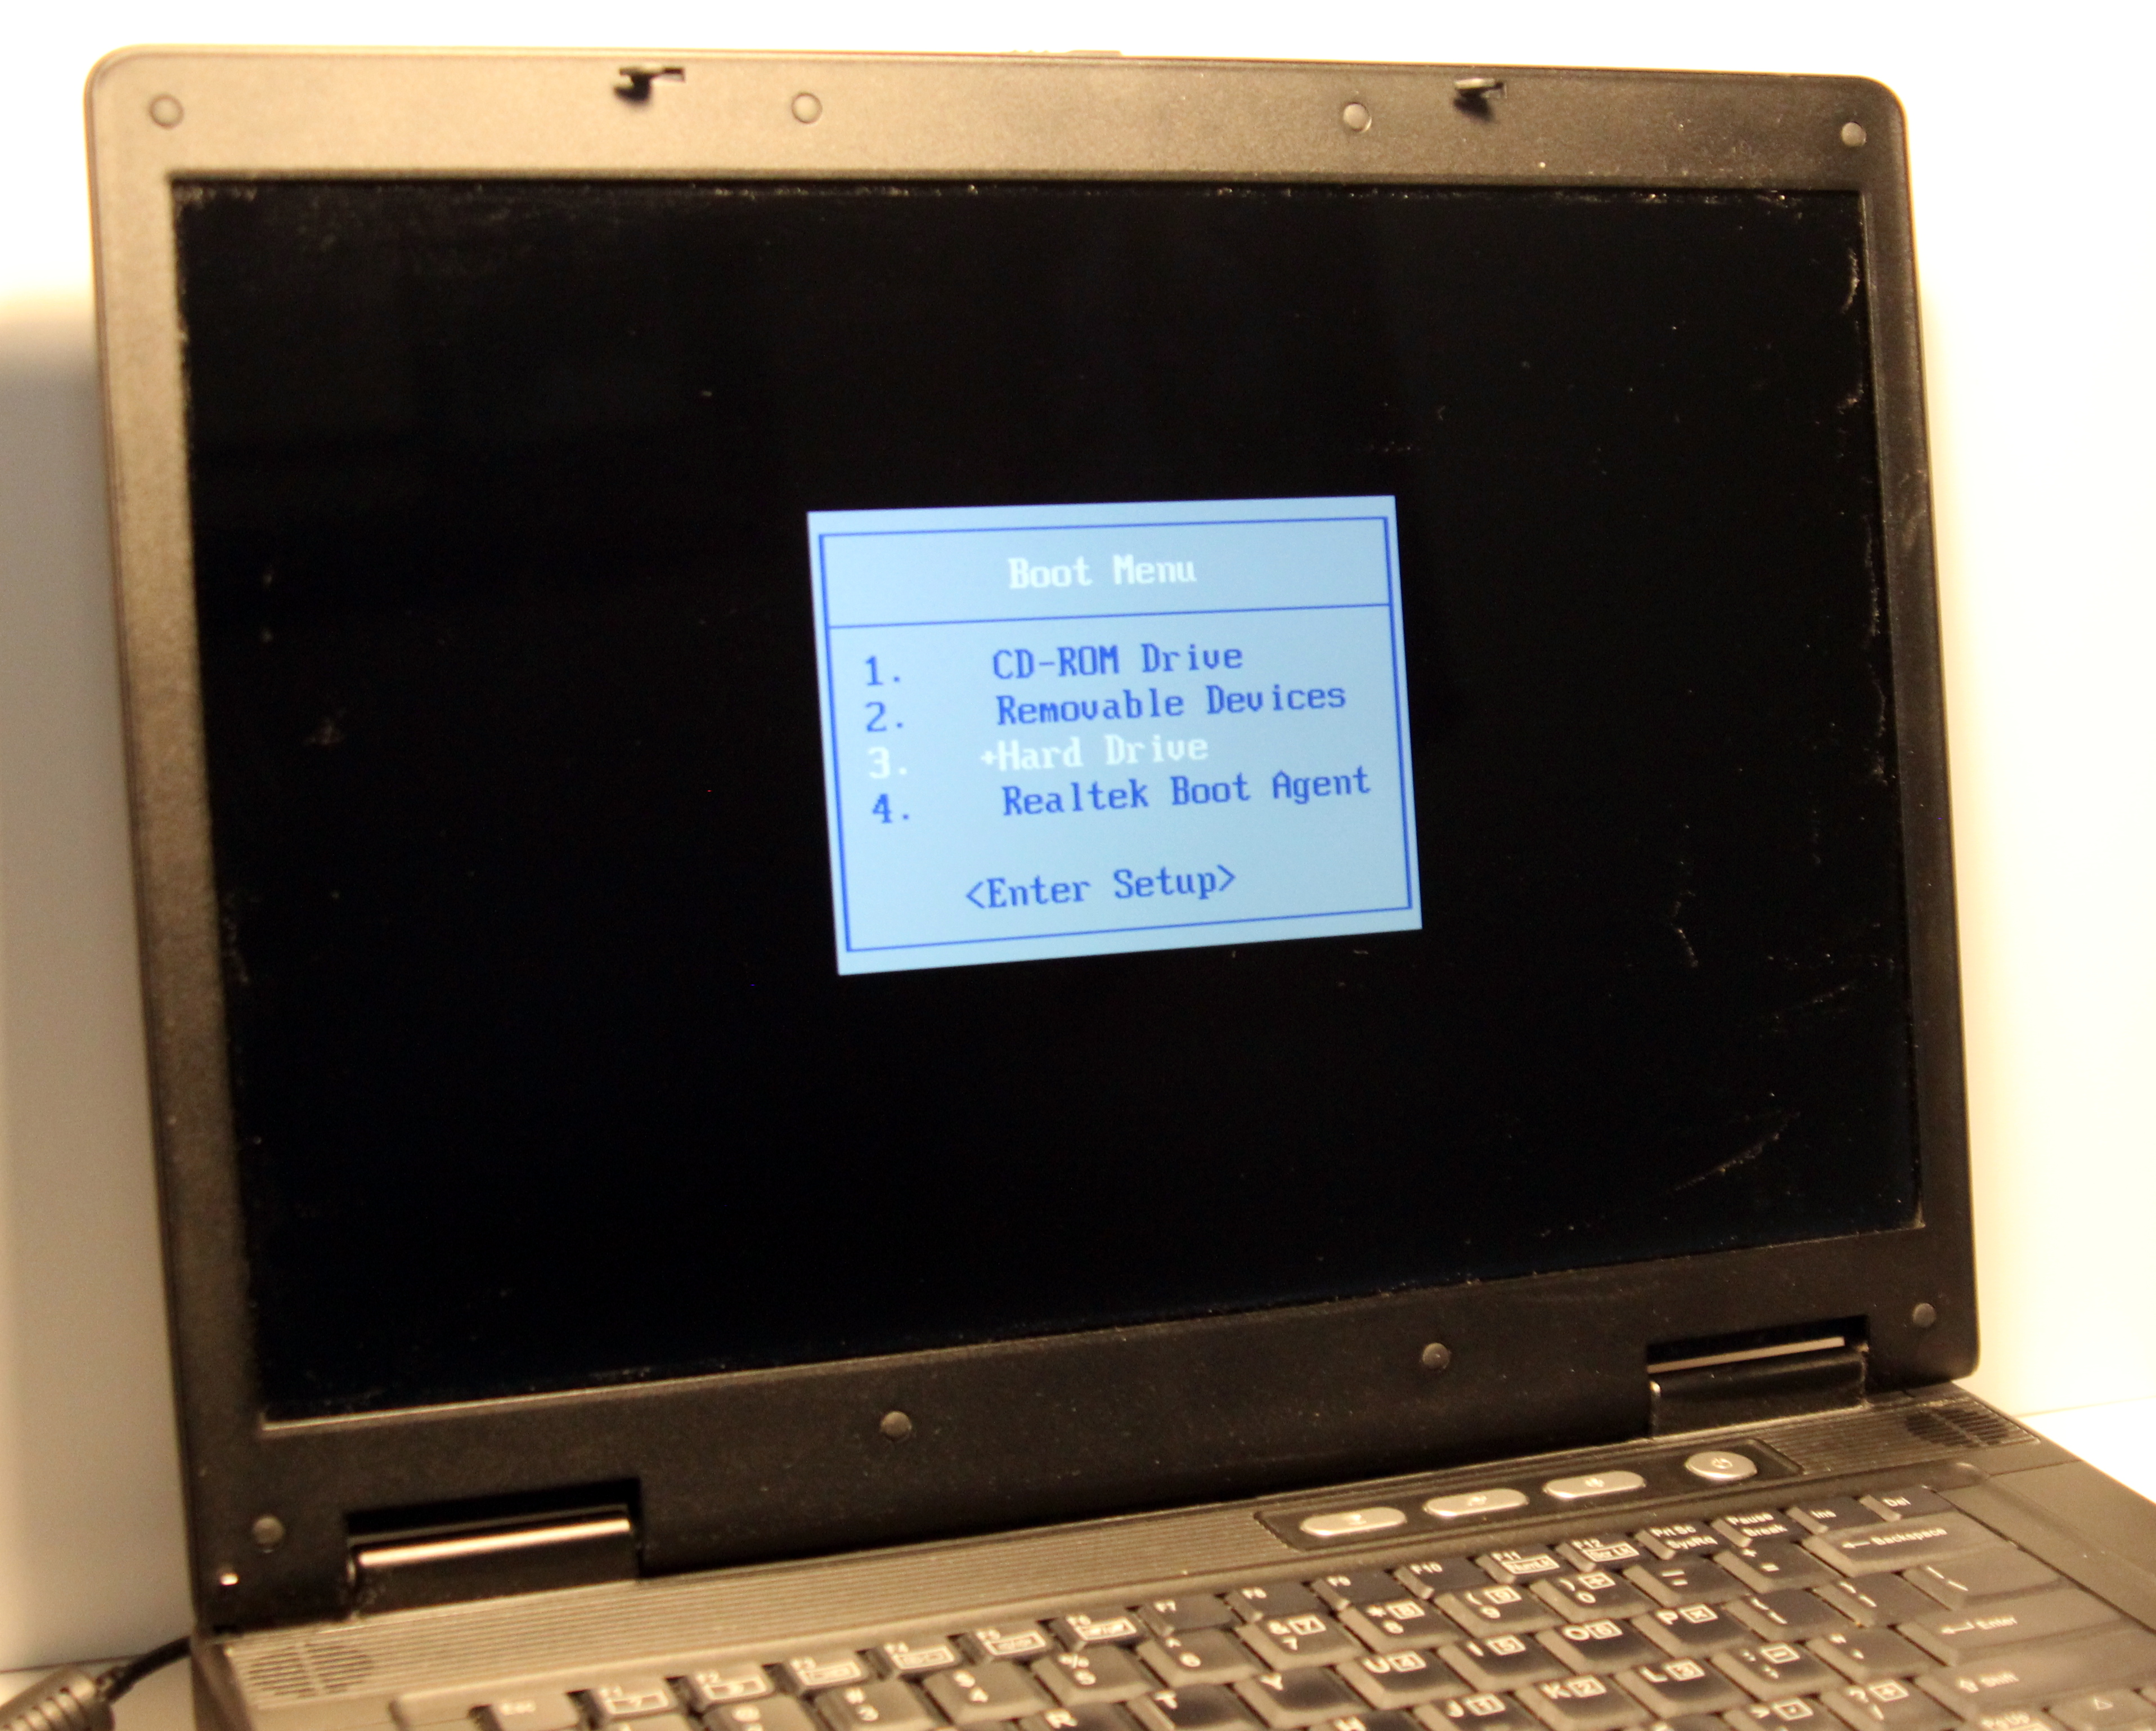
The Boot media should launch. I used UNetbootin on this old laptop (quite impressive it powers up and runs, for something that came out of around 2005).
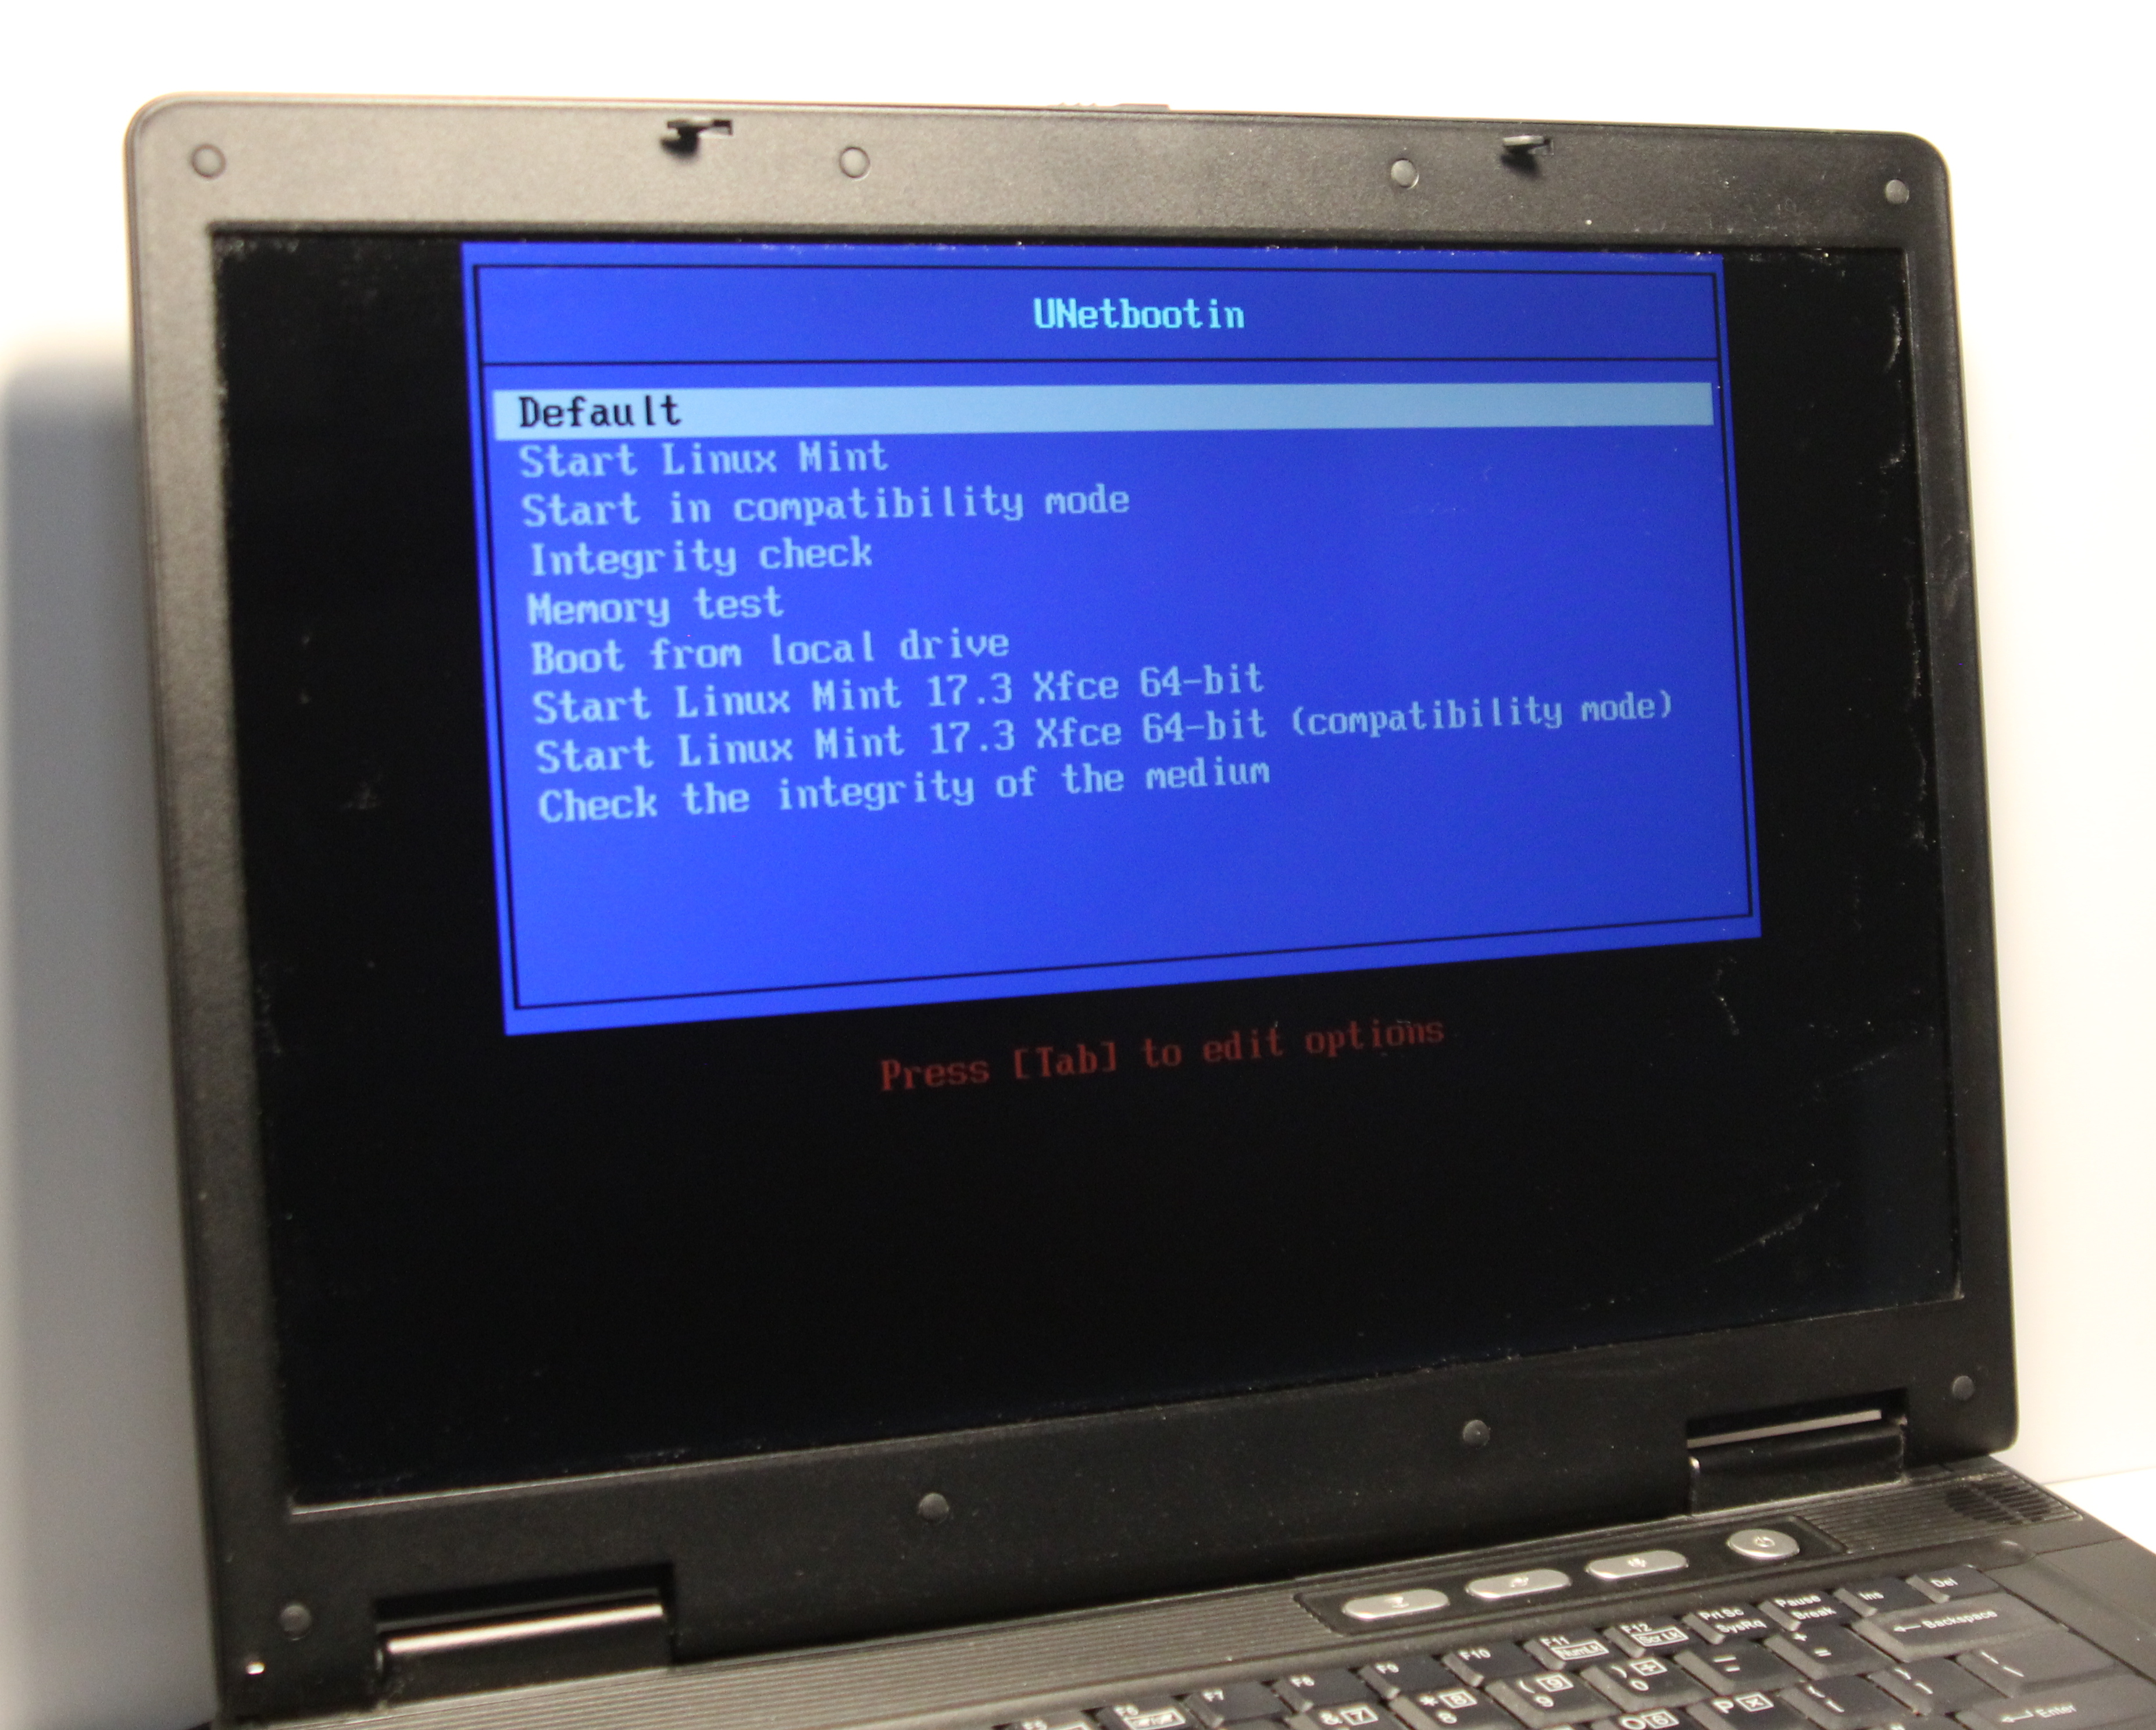
After a little while, the Live-Session is loaded.
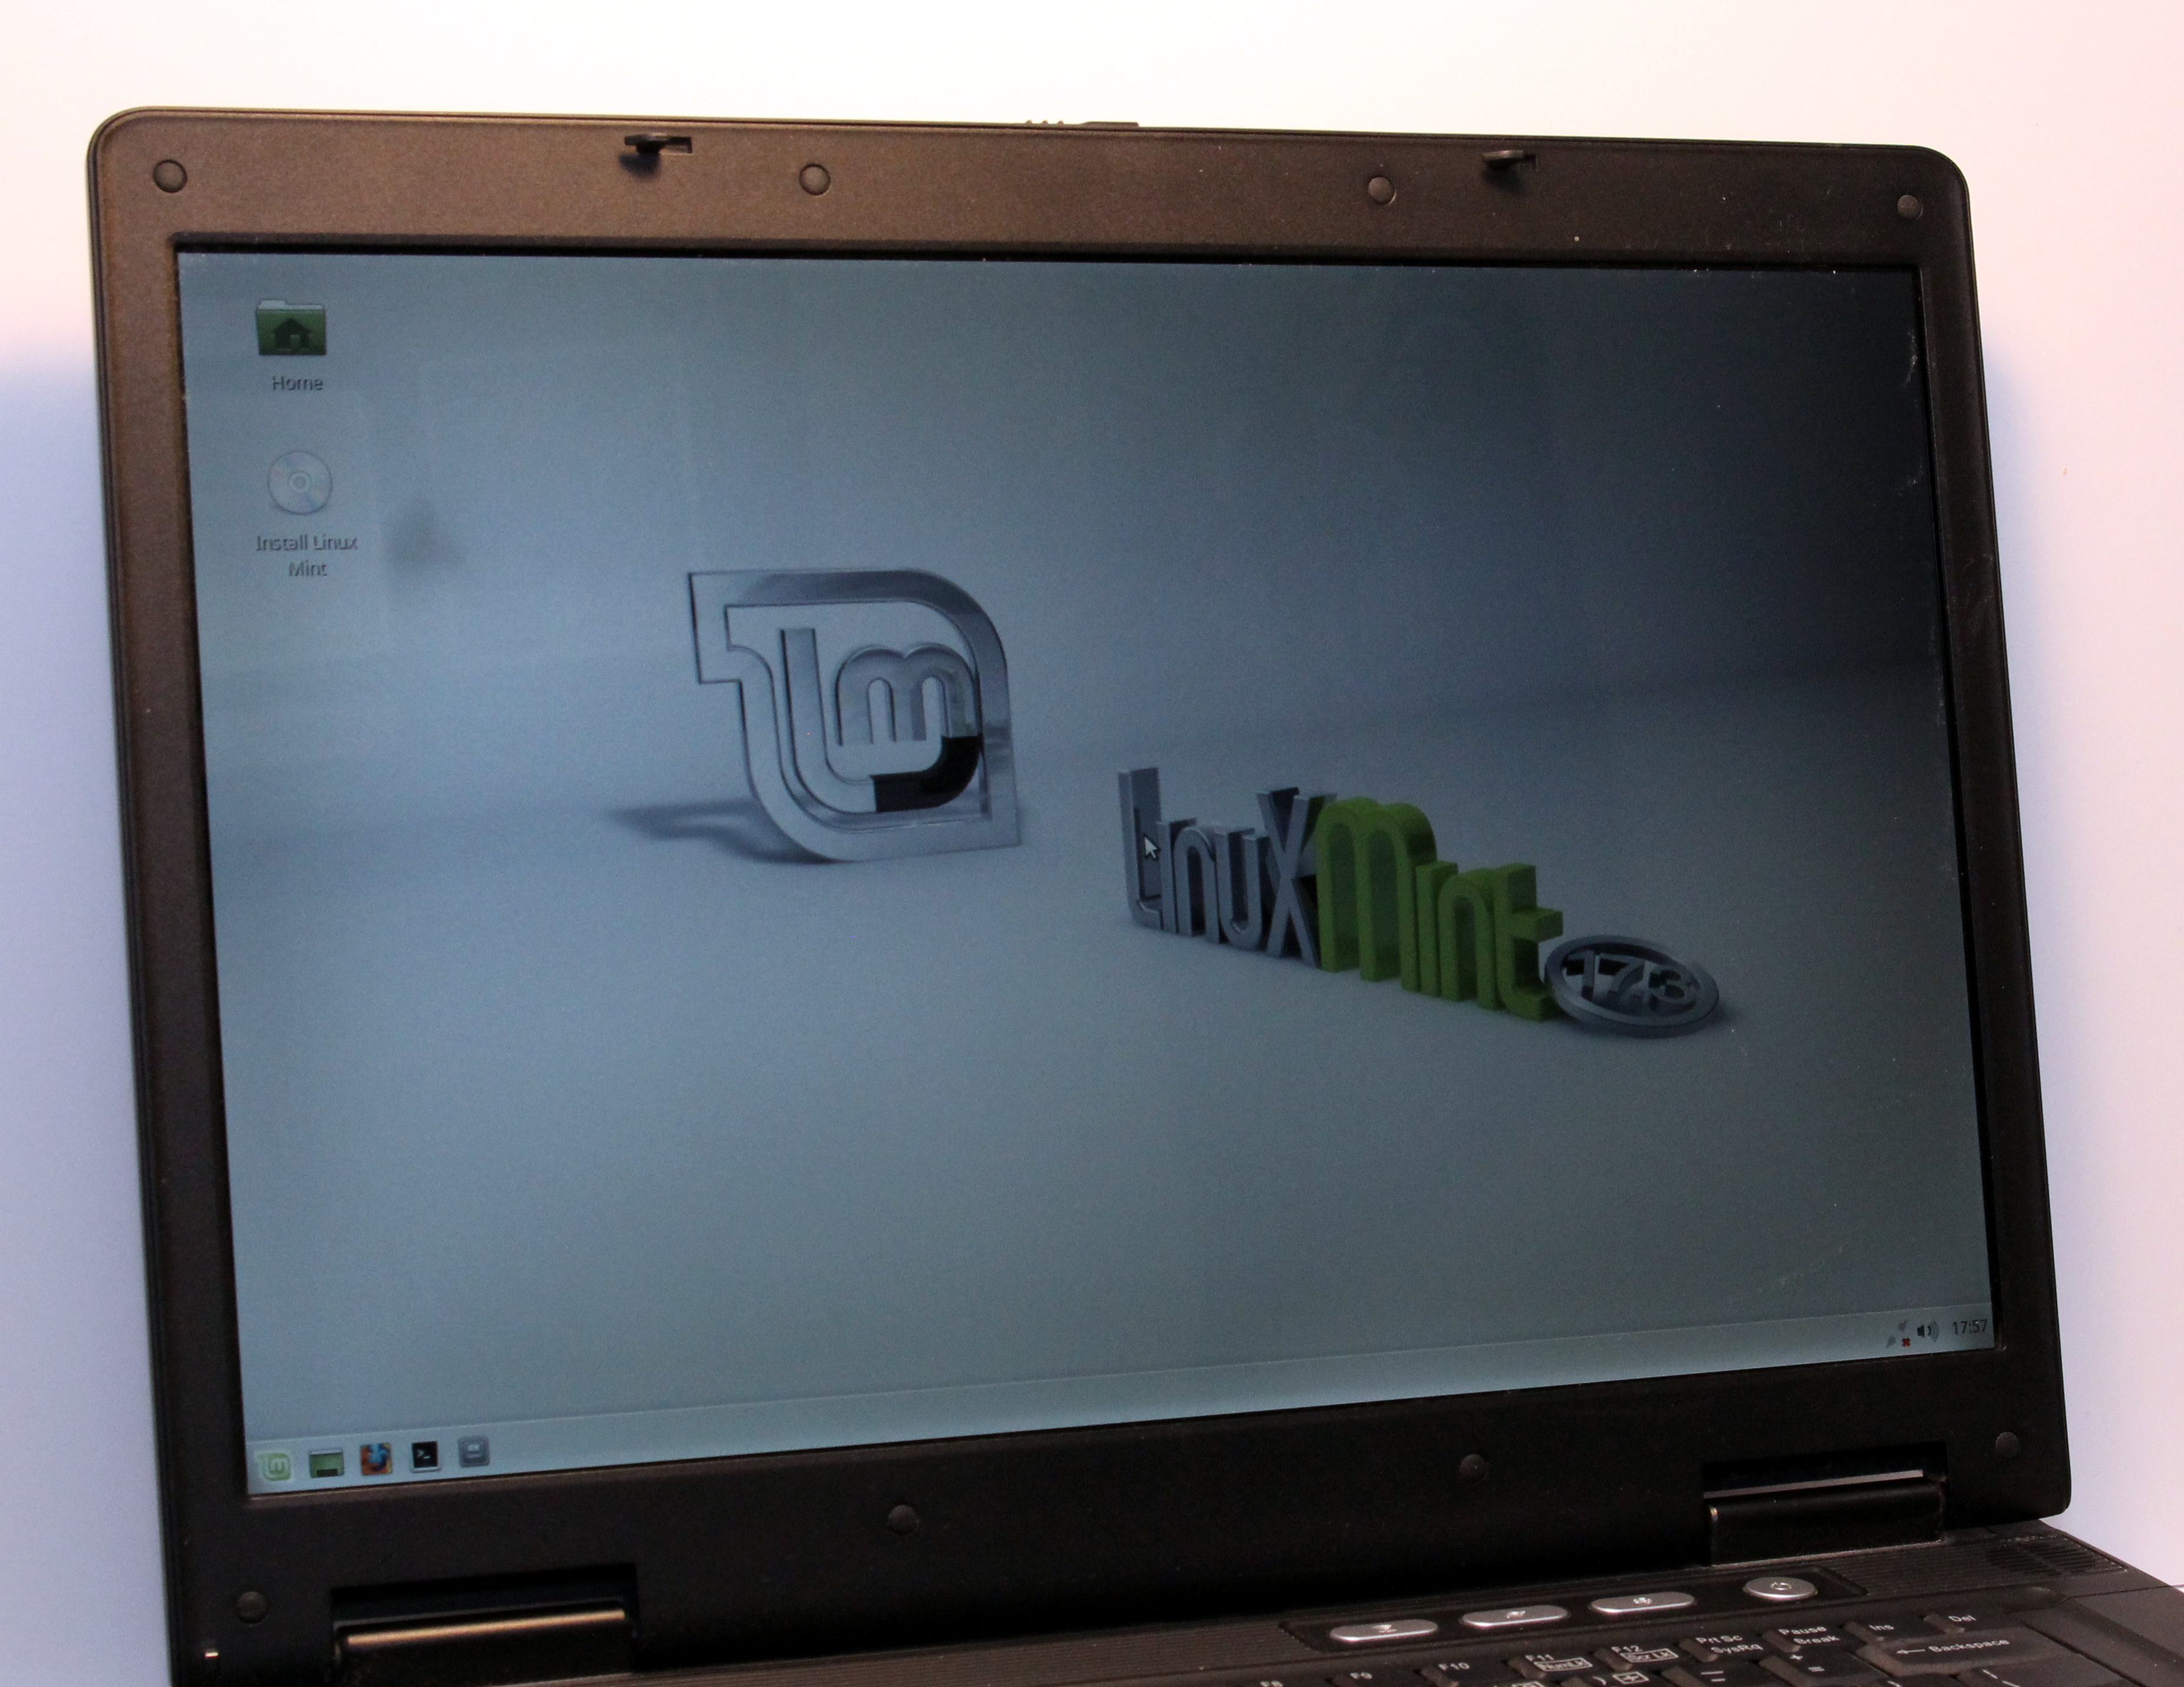
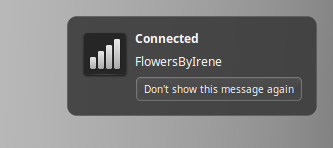
The Live-Session will connect to LAN (if cable attached), or WiFi.
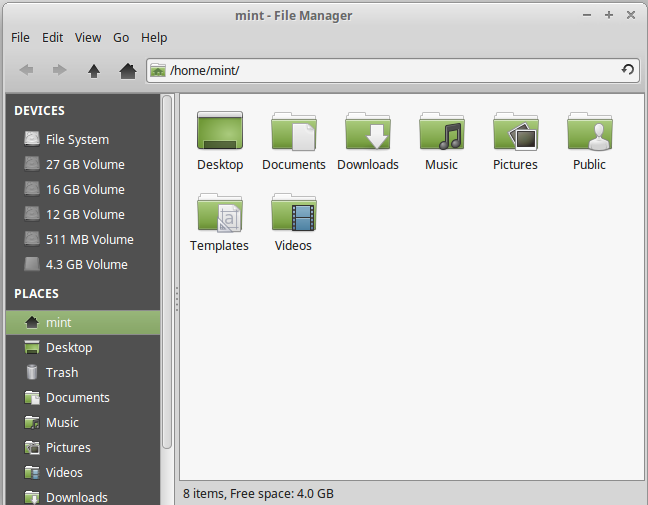
If you double-click on the “home” icon on the desktop, you’ll get a file browser. Within the left pane the file-browser will list the detected attached drive partitions that you may attempt to mount and access.
The Live-Session also includes a Firefox browser.

The Live-Session is good for just checking out a Linux distro, as well as doing some data-recovery, without modifying any existing installed systems on a computer. There’s plenty of pre-installed programs to run.
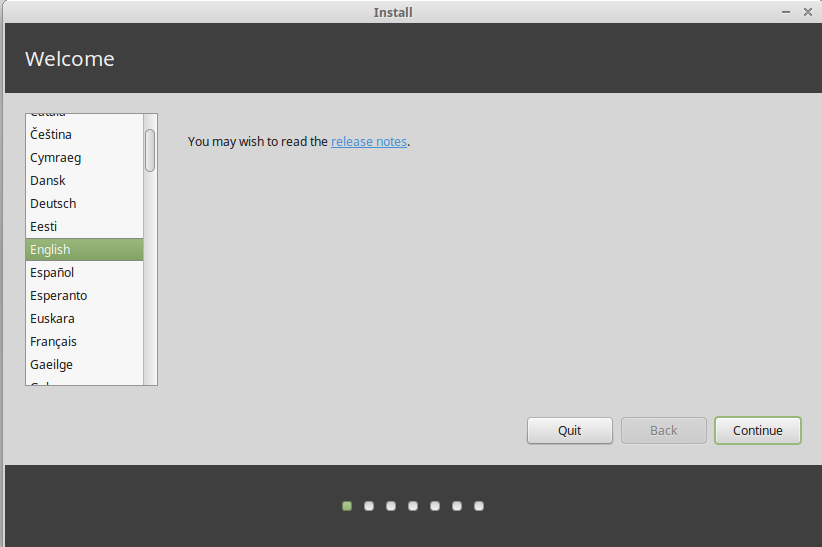
If you decide to do a permanent install to the computer, launch the “Install” from the desktop, and follow the GUI guide.