Browsed by
Category: Edu

Bluetooth Low Energy STM32WB55 Eval Kit Unboxing

Bluetooth Low Energy STM32WB55 Eval Kit Unboxing

I’ve been working on a Bluetooth Low Energy (BLE) based project for the past year, using the Nordic nRF52 integrated SoC. Its powered by a 64MHz ARM Cortex M4 core and Nordic provides good software stack and SDK support.

In keeping up with current industry developments, I was excited to hear about a month ago that STMicroelectronics announced their BLE SoC kit: the STM32WB.

I’ve also worked with ST microcontrollers for the past several years, and they also provide good chip level driver library support. The eye-catcher on their BLE chip is that it’s a dual-core design: A 64MHz ARM Cortex M4 to run the application, paired with a 32MHz Cortex M0+ core to run the wireless stack.

After a few weeks of scoping limited inventory, I was able to score an Eval kit:

One of the nice options in working with ARM microcontrollers is that we’re spoiled for choice on IDE options. The Free option is the one I featured today: GNU MCU Eclipse. It is a bit of a setup/install process, but the guide is pretty straightforward and it gets you a $0 development environment that is not feature or code-size limited.

A robot car kit to satisfy curiosity

A robot car kit to satisfy curiosity

Disclaimer: As an Amazon Associate I earn from qualifying purchases.

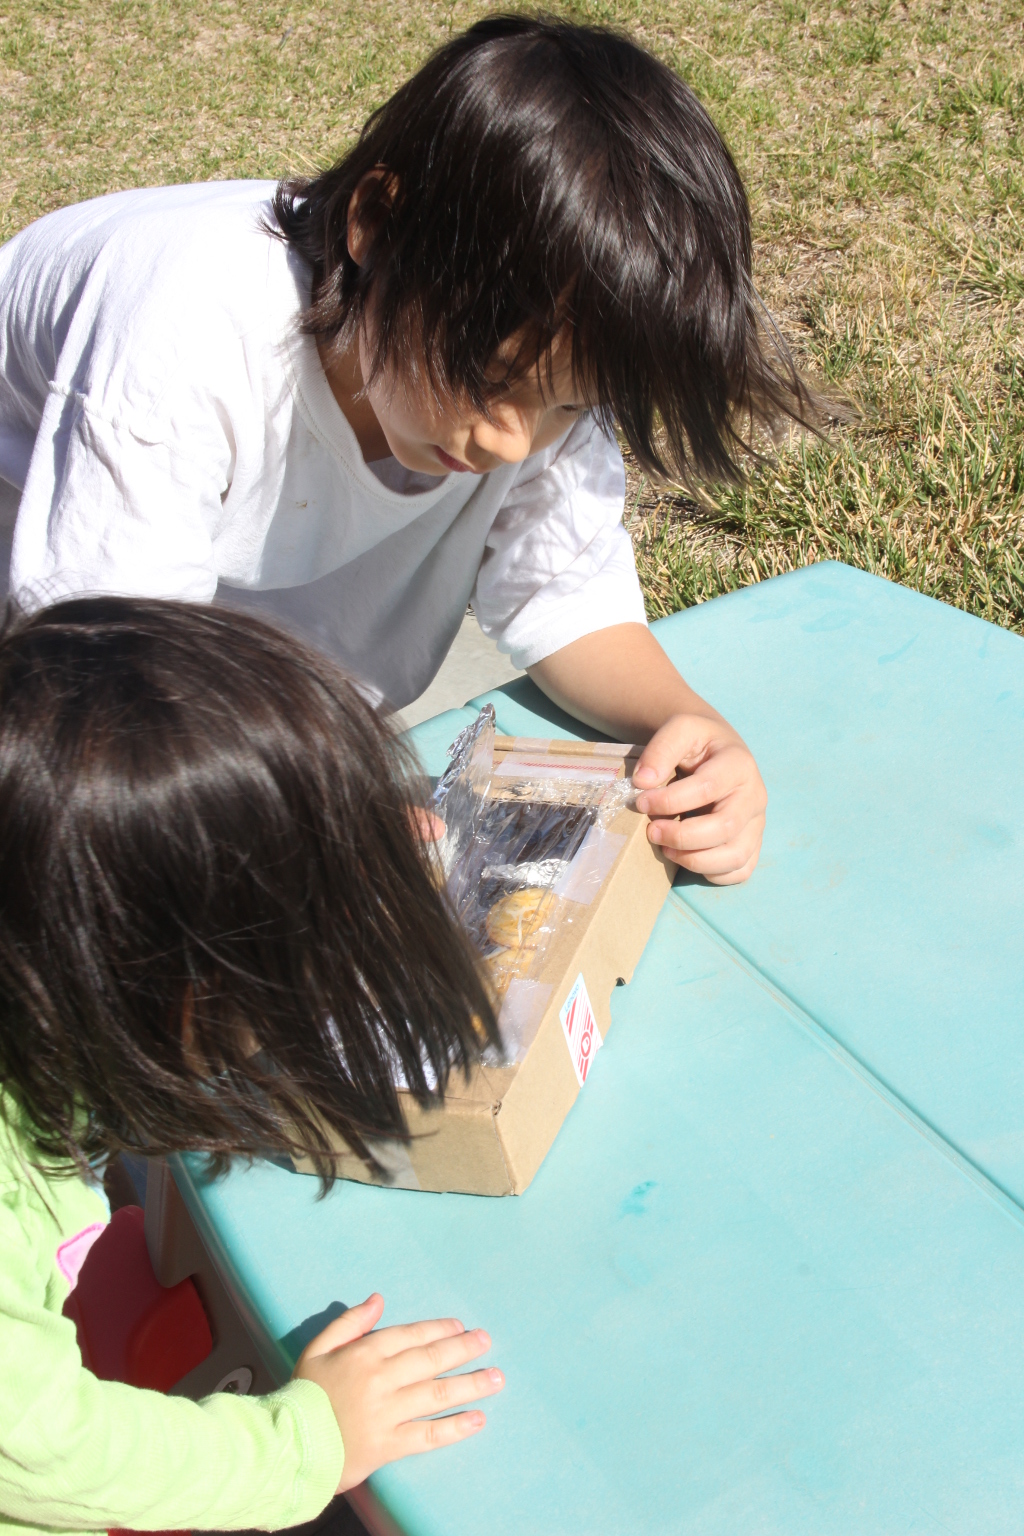
Ever since our little ones got hooked on watching NASA/JPL Curiosity landing videos, they’ve developed a strong interest in robotics (yay!!!).

And as luck would have it, our kids would often ask me (the dad) to “build a robot”.  When the kids were younger, building models with LEGO would suffice.  But it soon became apparent they wanted a “real” machine.  I had given a design try a while back.  I spent a few evenings looking up design ideas, drafting up sketches of mechanical pieces that we could fab from hobby plywood… but never got further from the computer screen.

Historically, I haven’t been a huge fan of turnkey kits.  I had saw them to be either of low quality or charged a significant premium for the convenience of all pre-selected parts in one box.

But then I found this Elegoo Smart Robot Car Kit.

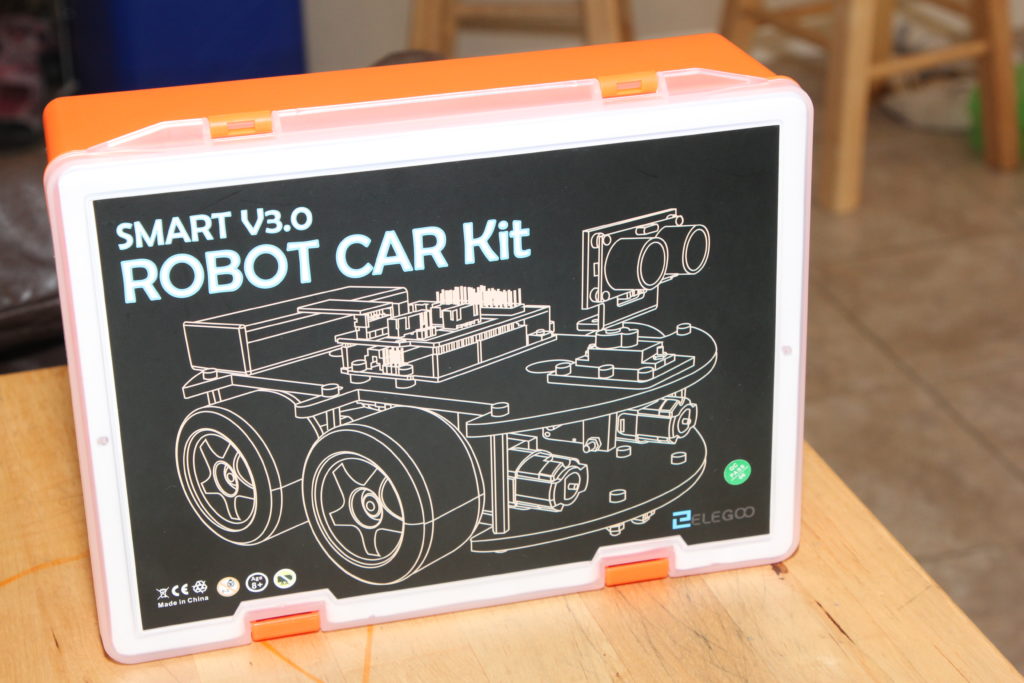
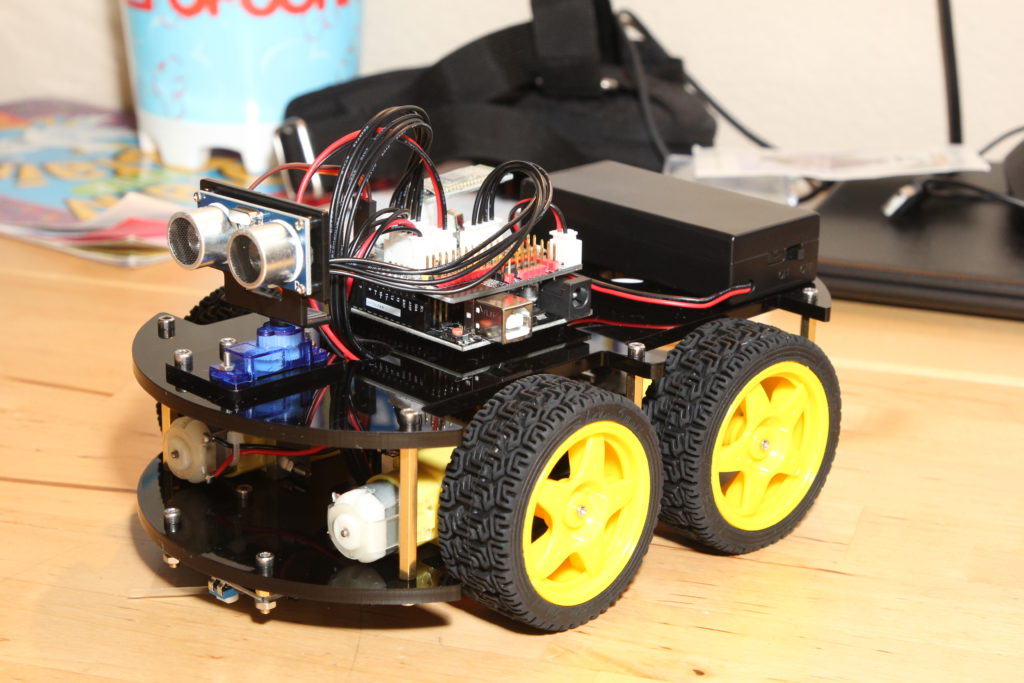
The kit comes with an Arduino control board, an I/O board, a ultrasonic module, a bluetooth module, line following module, motors, wheels, chassis, and all hardware needed for assembling the kit.

My Value Justification:

At time of writing, this off-the-shelf kit will get to your door at a reasonable packaged price.  You can easily spend half that cost just on machining the chassis plates yourself.  You could alternatively individually purchase a standard Arduino board, and other modules, but you’d still have to figure how to mechanically and electrically link them together.  The board designs may be open source and be a good EDA design exercise, but good luck getting the PCBs made for < $100 before you even add in the parts BOM.

The Build:

It went really well.  The kit came with clear illustrated instructions which our 2nd grader and Kindergartner were able to follow along with just a little hand dexterity help from me for some of the tighter screw assemblies and finer connections.

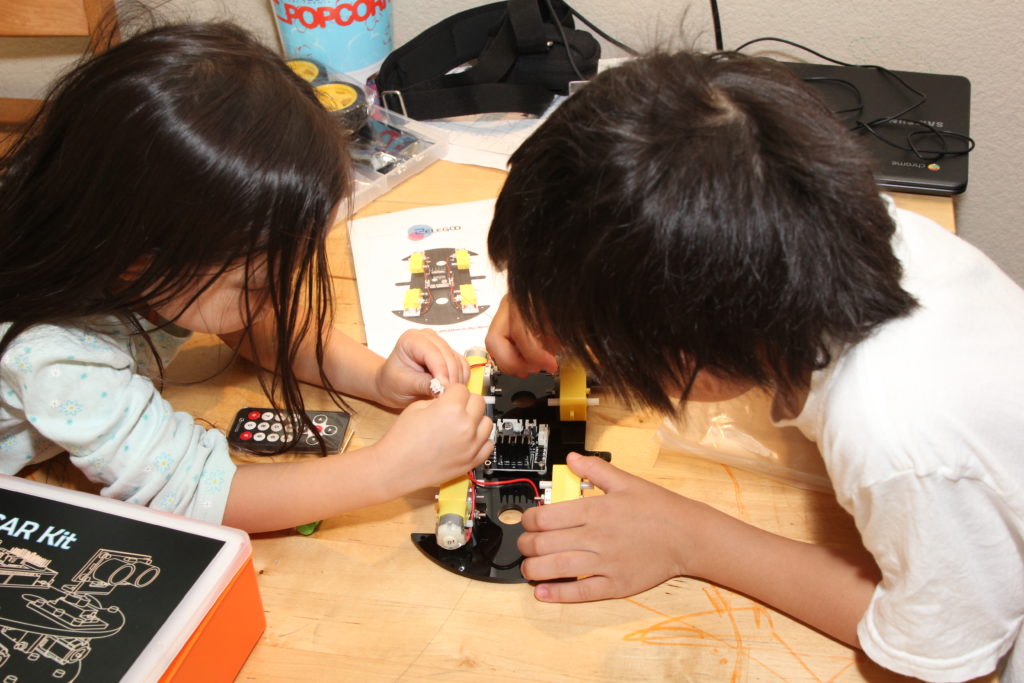
Parts quality is good.  The pieces appear to be machined well.  The components and hardware aligned up very easily with little fuss.

The kids now have a robot:

The kit includes demo and learning firmware projects to load via the Arduino IDE.  We are able to upload the “auto_go” firmware to the kit and watch the car drive around on the floor.

I’m quite impressed at this kit, what it comes with, and what it enables.  The car robot as-kitted presents many learning applications, but it also lends itself to expansion and modding.

In terms of inspiring learning pursuits, robotics engages the young hungry minds in mechanical engineering, electronics design, embedded firmware development, and applications development.

Introducing Computer Science with micro:bIt

Introducing Computer Science with micro:bIt

Disclaimer: As an Amazon Associate I earn from qualifying purchases

Throughout the school year we introduce computer science concepts as appropriate for age and skill level.  Towards the end of last school year we started using the micro:bit platform as a fun learning tool with much success and plan to continue in the following weeks.

The micro:bit is a plug-and-go easy to use introductory electronics and programming platform with a 5×5 LED “display” matrix, a couple buttons, and a 3-axis accelerometer.

The kit comes with a battery pack and a short micro-USB cable for power/programming.  The longer hi-visibility red cable that I used is this one: https://amzn.to/2KQv6Wm

The programming environment is web based, so any computer with a modern browser and an available USB port should work.  Our kids were able to do the labs with our relatively low-power, long battery life Chromebook

On teaching ingenuity

On teaching ingenuity

A bit of a departure from the usual electronics/software based post, but a writing about learning nonetheless.

This week wrapped out the school year for us and our kids.  Our kindergartner had quite the gainful first year of “official” school.  Rather than trying to finish up our science study on The Brain and The Senses, we instead built solar ovens as the last lesson.  They’re always the next year to pick back up where we left off.

The “lab instructions” that I put together in <15 minutes the night before basically called out materials including a box, black construction paper, plastic food wrap, and aluminum foil and directions on assembly.  Following was a basic “what do you expect” and “what happens” fill-in when shining the sunlight into the “oven”.

It was ~77F outside in the sun.  The oven’s interior temp got up to near 100F within minutes, not bad for no consideration of insulation or other potential optimizations.  The kids were quite impressed that the cheese started melting.  They also couldn’t wait until next day to “toast” marshmallows.

The casual conversations into the evening afterwards was vindication that it was worthwhile to do this really, really basic experiment.  –The same experiment I read and followed along years ago IIRC from a Fox Kids Club magazine..yes I’m dating myself here.

AJ started scheming up other ways to make “ovens”, after understanding how the one he just built conceptually operates.  One of his ideas for another “solar” oven was using a light bulb, which I had to nudge that it wouldn’t be a direct solar design as it would need electricity.  It is interesting that he mentioned using a light bulb: it must be intuitive that bulbs generate heat, so much so that there used to be a commercially available toy built on that premise.  However, in his short years of life he’s probably only ever seen CFL and LED bulbs in use, as incandescents have fallen out of favor due to higher energy usage, working against the A/C trying to keep the rooms cool.


This kind of creativity and ingenuity isn’t necessarily a directly teachable thing, but kinda builds from within from exposure and otherwise nurturing experience.  Its such an important trait that we impart on our future leaders and innovators that we can’t lose sight of.  But I sometimes think in our (the parents and educators) quests of trying to get our kids to eventually learn the most advanced skills they can absorb in their young learning years, its quite easy for ingenuity to fall out the wayside.


STEM is a big catchy thing these days for various reasons, and if/when done correctly I believe the attention can yield great results that everyone will appreciate.  When discussions turn quickly into action plans like putting every kid starting from pre-k in front of a computer with a software IDE, maybe we should step back and consider its not all “what” they’re learning, but “how” and “why” counts as well.


And with that, SCHOOL’S OUT …FOR SUMMER!  Maybe I’ll have a few spare moments to finally build out more of the Embedded Systems 101 workshop.