Virtualize your Virtual Meetings
Q1-2020 has featured audio-video conferences in the spotlight. While the benefits and value of remote collaboration is greatly acknowledged and appreciated, there are some privacy and security concerns that come along for the ride.

What video conference/meeting vendors do with account access and account data once on their platform is really up to their practices. However, for concerns regarding what the vendor client tools might do in regards to residual background processes or adding additional unwanted software packages, you have some mitigation options through containment.
- Dedicate a computer for conference meetings.
- Vendor clients have no access to local data on your primary workstation due to air-gap.
- Yet another computer to own and maintain. Won’t allow you to directly share content you might need on your primary workstation, unless you go through setting up network file sharing which is not without its own concerns.
- Dual-Boot: One computer but two disks/partitions. Similar pros/cons as dedicated computer.
- System Virtualization.
- Can run in parallel within your workstation in it’s own container. No to (relatively) low hardware cost. Can share content with your host workstation through VM filesharing.
- Your Performance May Vary. Definitely will want to do some preflight testing and have a backup ready to go should system fail to perform adequately during a call.
For our discussion, we’ll focus on virtualization. Before we continue…
THE DISCLAIMER: The contents of this article are intended for your personal use on your privately owned computing tools. Please adhere to your company’s policies and usage specifications for software, subscriptions, and computer tools provided to you for company use. DO NOT use this guide to circumvent company IT policy. Don’t blame me if Nick Burns your Company’s Computer Guy becomes angry and sarcastic with you. Other usual at-your-own-risk, no warranty, no liability disclaimers also apply.
Oracle Virtualbox is a free virtualization software that runs on Windows, Mac, and Linux hosts. It allows you to setup a virtual computing environment and allocate CPU, Memory, Video, storage, USB, file, etc resources to expose to the virtual …box.
For “Guests”, that is, the operating system running inside your container, Virtualbox supports several systems. However, Linux is free and easily accessible. I suggest Linux Mint.
A note on versions: The procedure in this article uses a Linux Mint 18.3 XFCE Host, using VirtualBox 5.2, and running a Linux Mint 18.3 XFCE guest. For whatever reason, the GUI presented in VirtualBox 6+ doesn’t play well with my 4k/UHD display, and Mint 19.3 apparently needs a Video Controller option that is only presented in VirtualBox 6+ to work correctly.
Download and install the VirtualBox software, and the associated extensions package. Then download the Linux ISO of your choice.
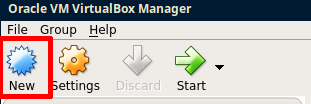
In VirtualBox, press “New” to create a new system profile.
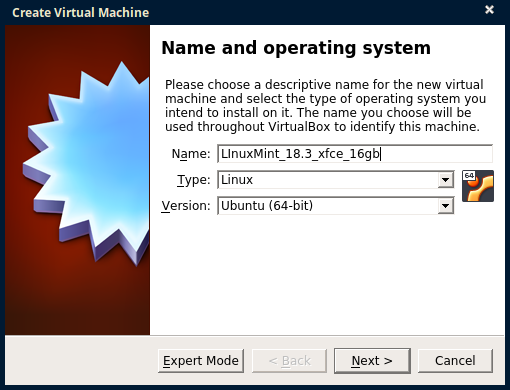
Give your new system a name, set the type to Linux, and select the closest “Version”, then press Next.
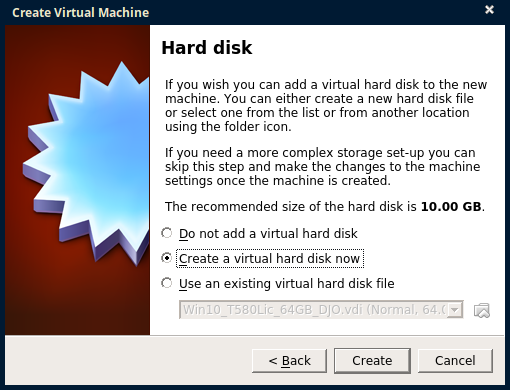
Select “Create a virtual disk now” and press Create
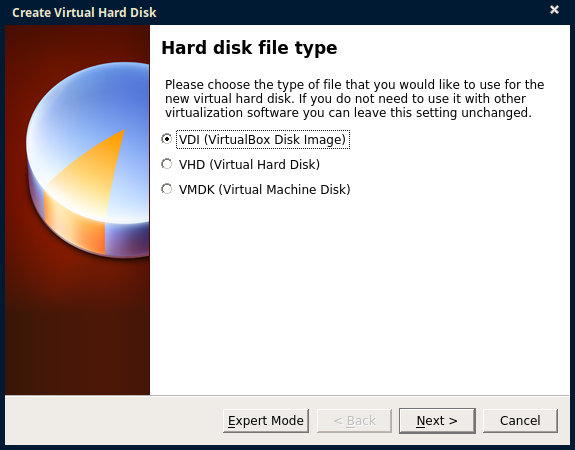
Be sure that VDI is selected, and press Next.
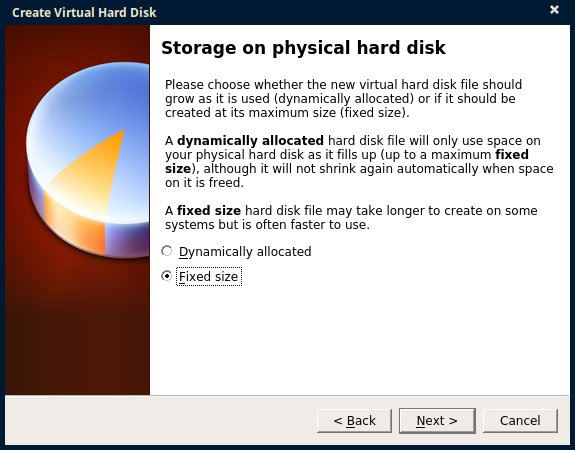
I’ve only ever used “Fixed Size” because I have the Need for Speed
For your ‘physical disk’, give it a name/location, and size it just a little more than the minimum system requirement.
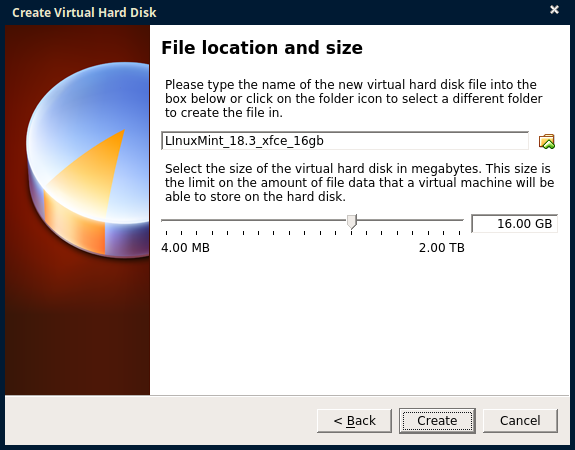
Wait for the virtual disk to be created. If the disk is created on an SSD, it won’t take long.

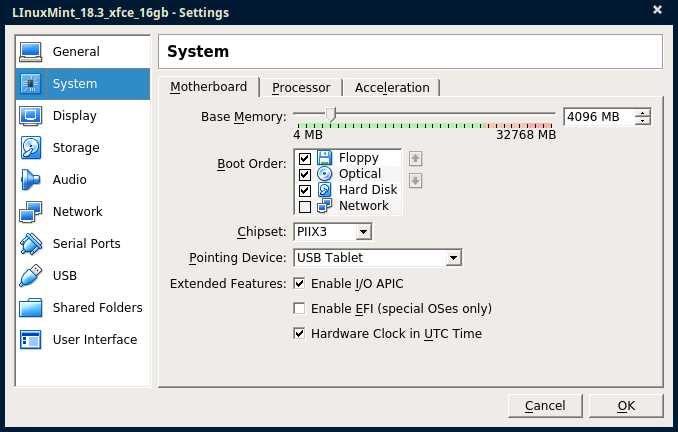
In the left panel of the VirtualBox utility, right click on your newly created system and select “Settings…”
Select “System” in the left pane, and within the “Motherboard” tab, give your virtual system at least 4 GB (adjust more or less, now or later, depending on the performance you are achieving, or available physical memory).
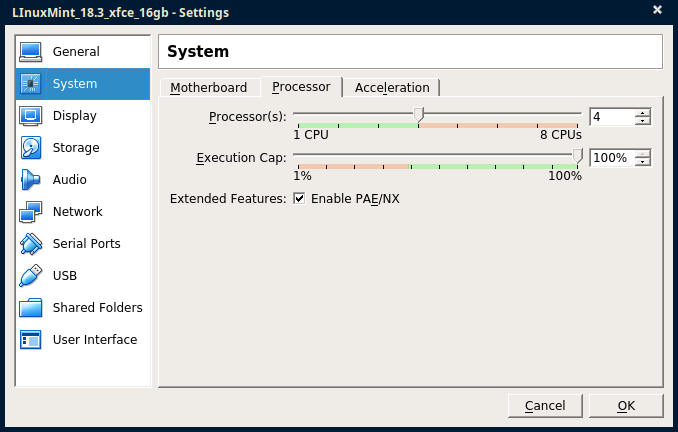
Within the Processor tab, give it as many ‘processors’ you have in the green range, again: more or less depending on performance. This is an allocation setting, meaning the VM will use up-to the specified value.
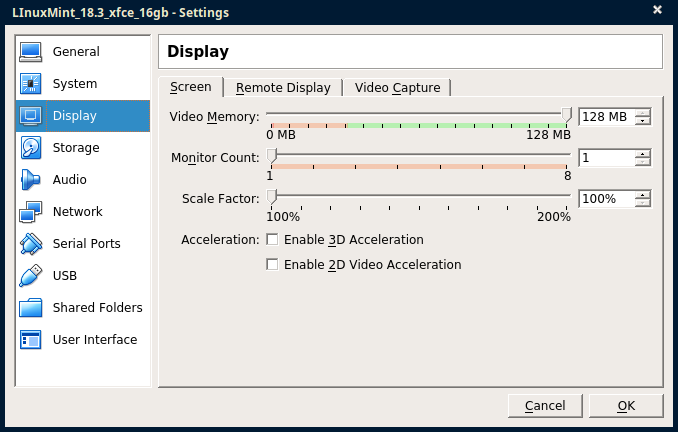
Select “Display” in the left pane, and within the “Screen” tab, tune the Video Memory if needed.
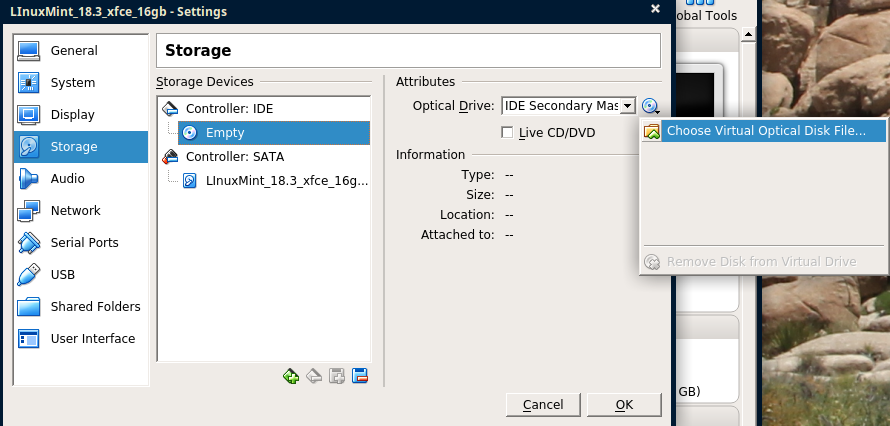
Go to the “Storage” pane selection, select the virtual optical device, then expend the menu to choose a disc image.
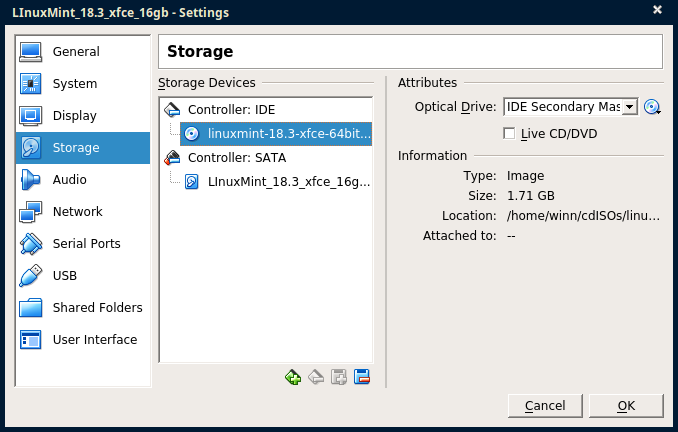
Navigate to the Linux ISO you downloaded earlier. Then Press OK
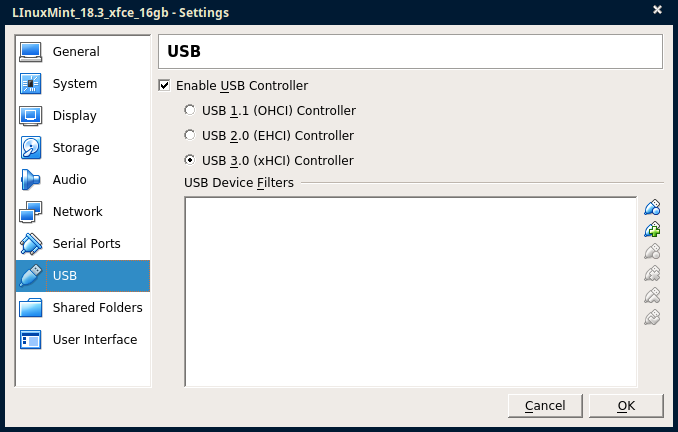
Just showing the USB Controller setting here. I think it defaults to USB 2.0 (EHCI). If your webcam is choppy within the VM, try changing this to USB 3.0, if supported on your computer.
Close out the settings dialog. Press Start to launch the VM. It should boot up with a “BIOS”, then boot from your Linux ISO.
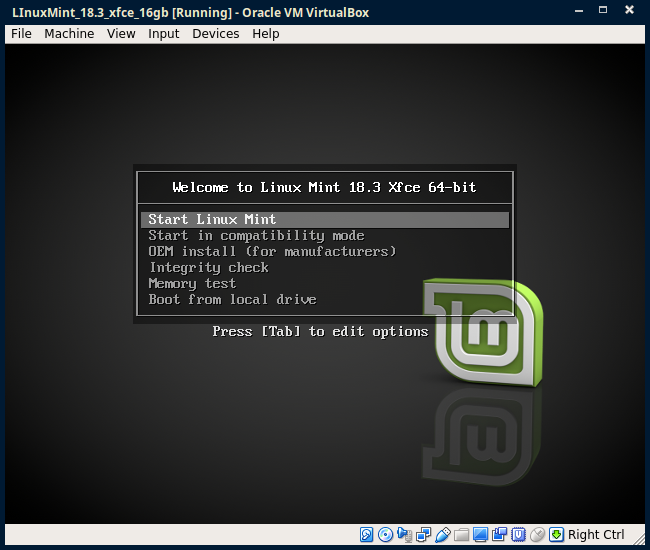
Press Enter on the keyboard to go. You may to click in the VM window first. –To free the keyboard/mouse from the VM if it locks inside the VM, press the right CTRL key on your keyboard.
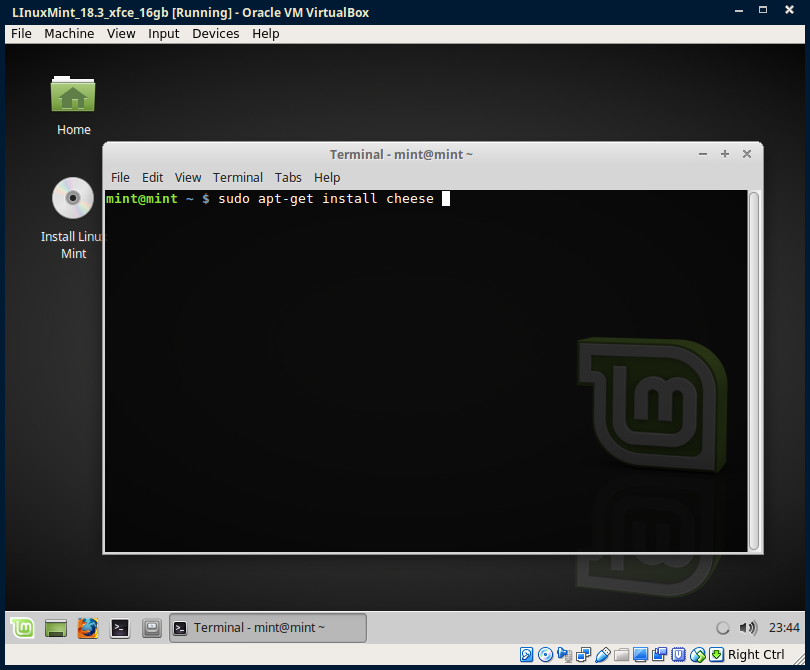
The LInux Live CD image should complete booting monetarily into a GUI system. Let’s test that your webcam works.
Open a terminal window, and type in
sudo apt-get install cheese
then press enter
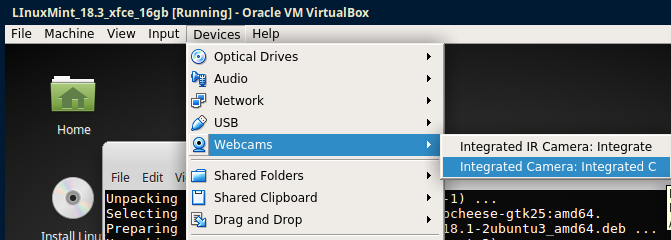
From the VirtualBox menu bar, go to Devices->Webcams and select your webcam to attach to your VM.
Launch the Cheese from the Applications Menu
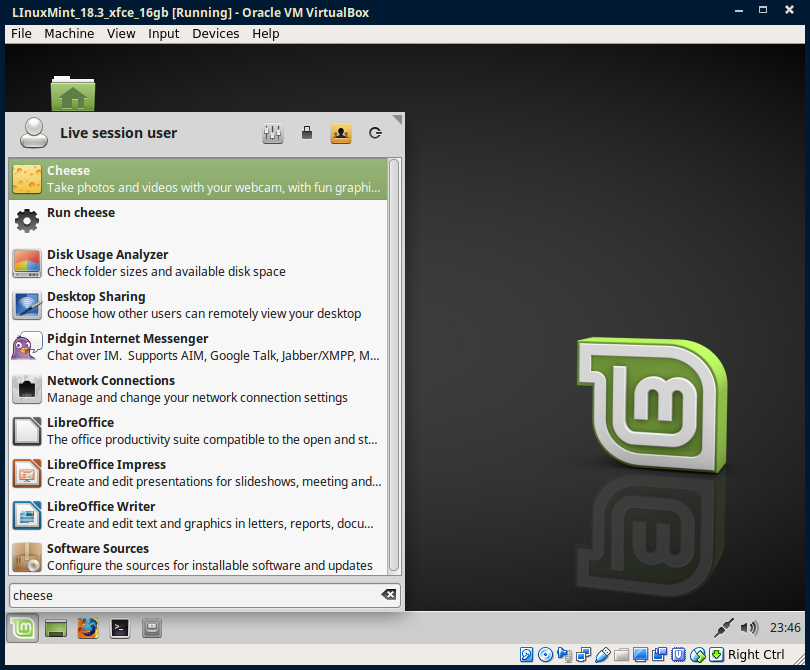
Verify that your webcam works. If it’s choppy, shut down the VM and try changing the USB setting from earlier, and try it again.

Close out the Cheese utility.
While we could just go conferencing with the live image load, you’ll have to reinstall application with every instance. Instead, let’s go ahead and install the OS to our virtual disk. Couple click on the Install icon on the desktop inside the VM. The Installer will launch.
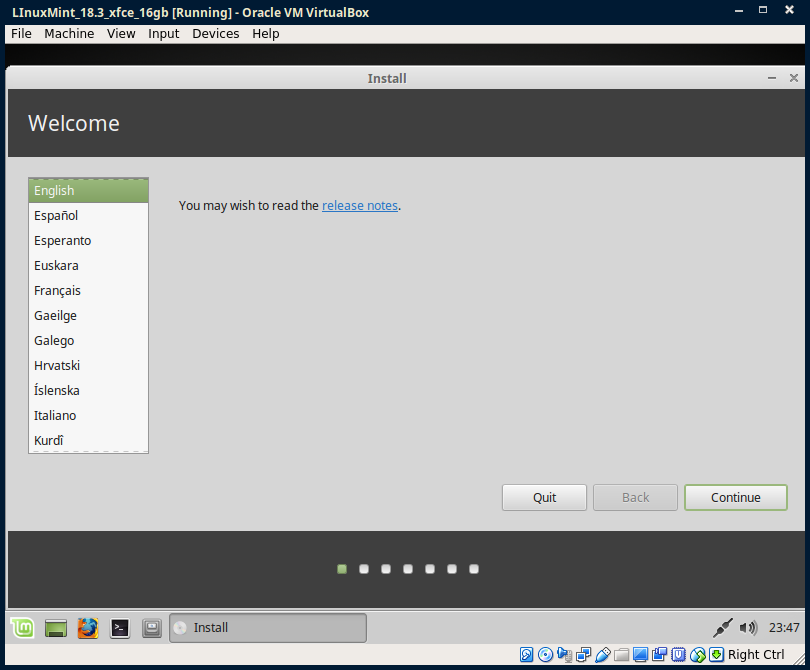
Select your language
Check the box to install third-party software.
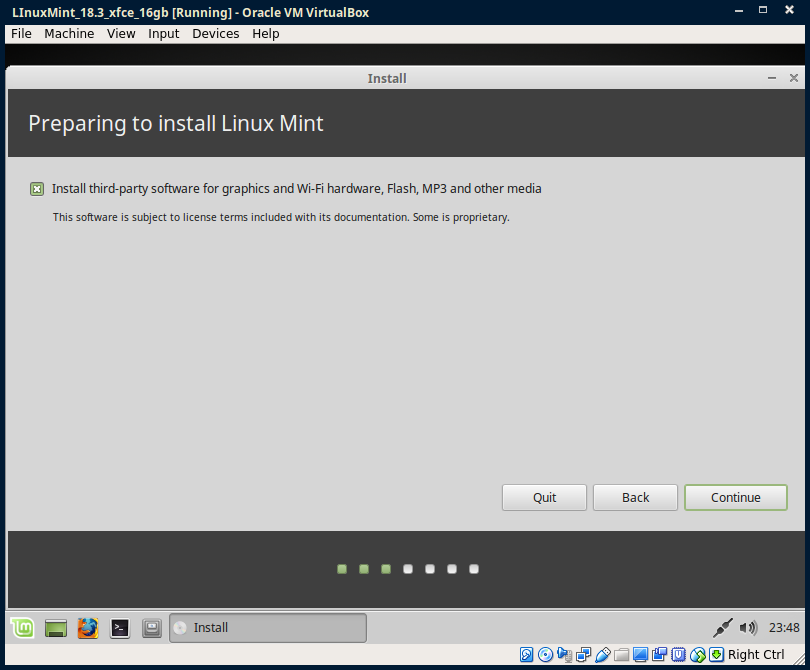
From here, just go with the defaults and press Next/Continue to install the system. We’re only using this VM for conf calls so this is good enough configuration.
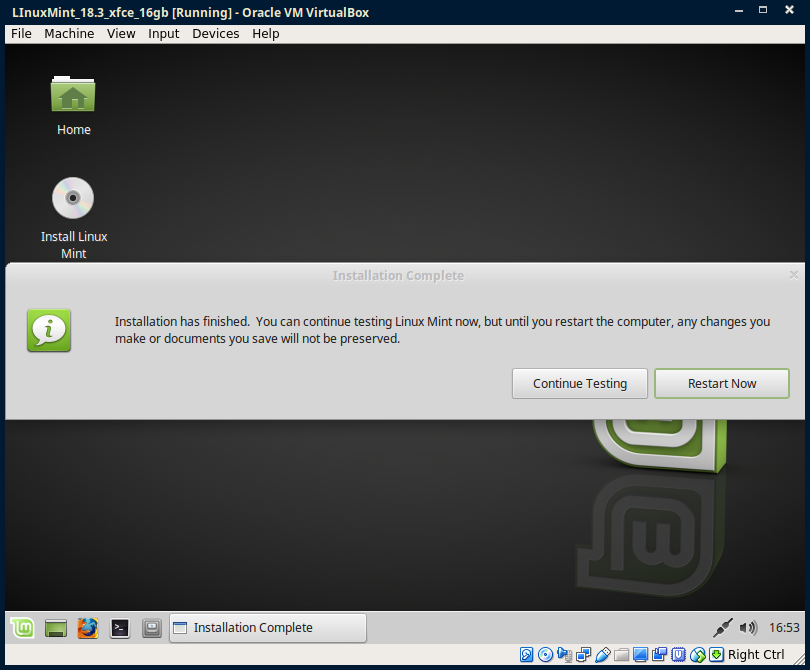
When the installer finishes, it’ll prompt you to reboot. Go ahead. Press enter when it says to remove the boot image, and the VM will restart into the installed system.
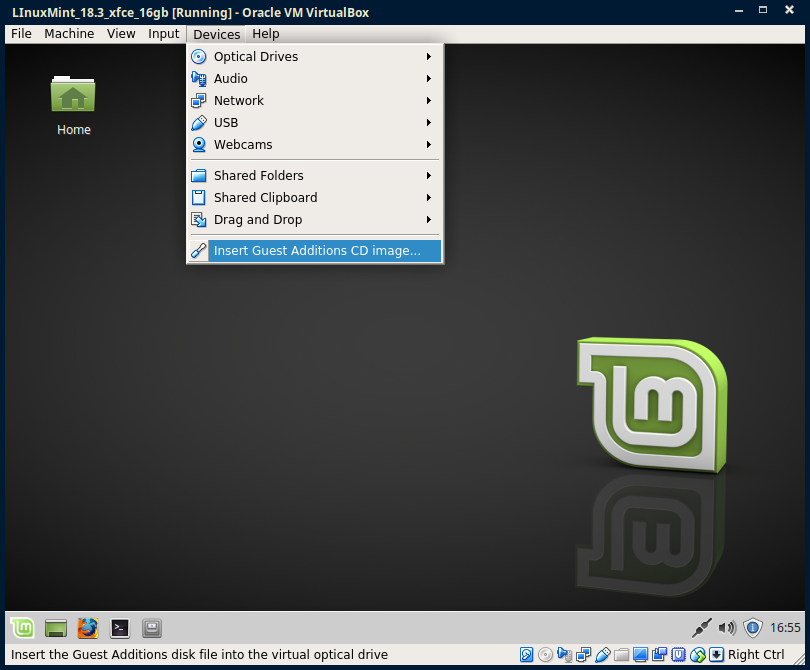
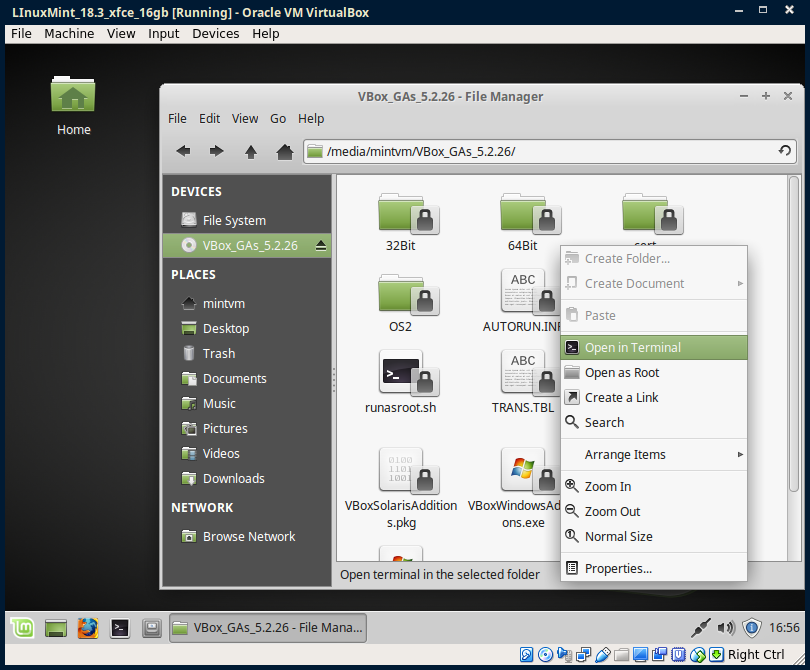
Once rebooted into the installed system, pull down the “Devices” menu from the VirtualBox menu bar and select “Insert Guest Additions CD image…”
Double-click on the “Home” icon to open the file browser, select the mounted CD image. Right click in the file area and select “Open in Terminal”
In the terminal, enter
sudo ./VBoxLinuxAdditions.run
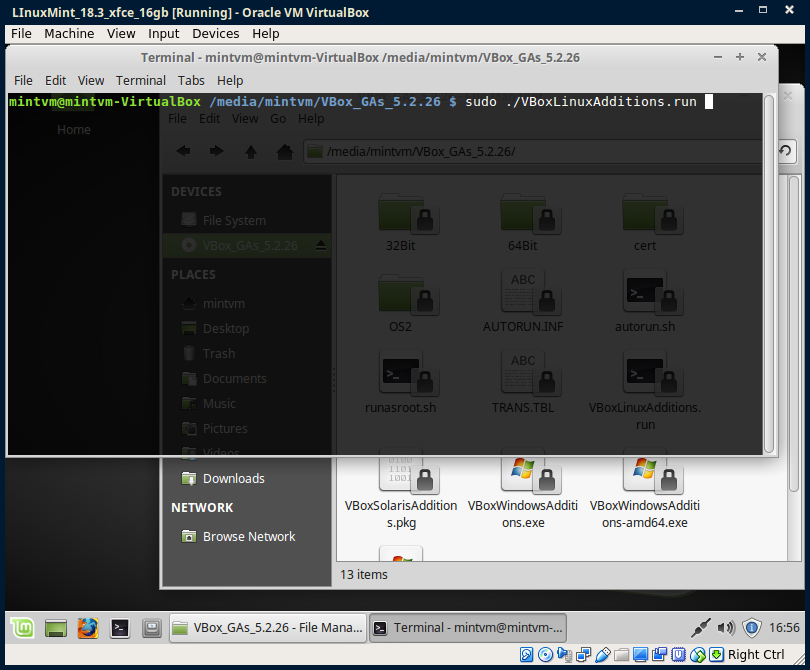
Follow the prompts to install the Guest Additions package. When finished, restart the VM.
With the VM restarted, you should be able to resize the VM by resizing the running Virtualbox window, and/or setting the screen size from the menu.

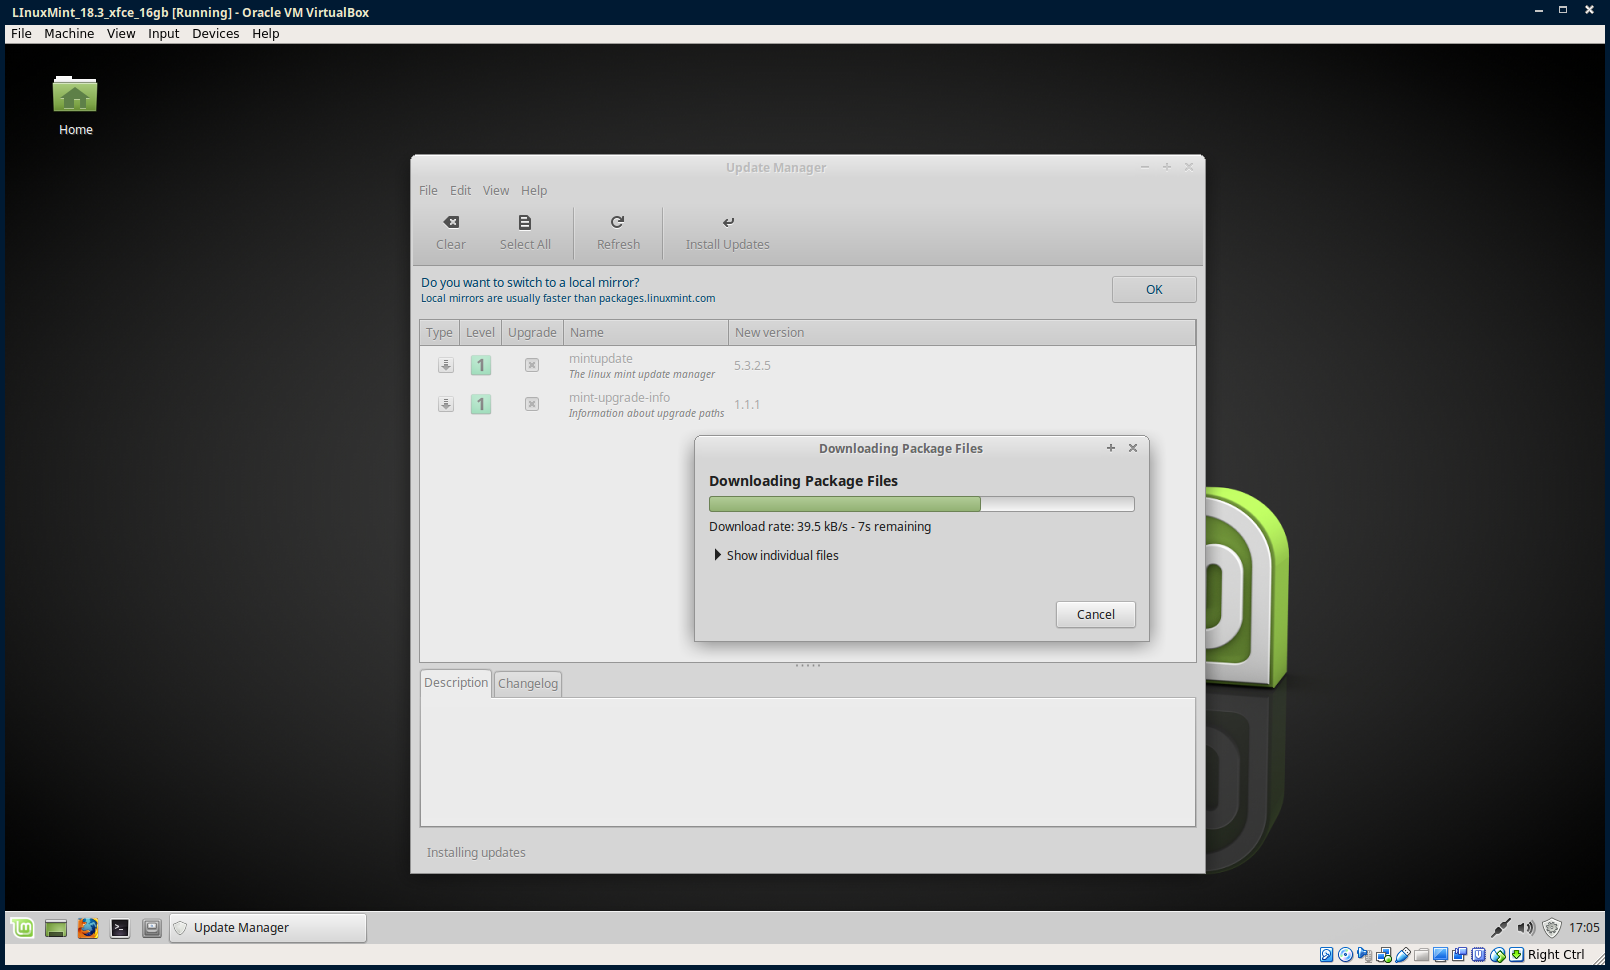
Its generally a good idea to run system updates right after a new install. Double click on the blue (i) shield in the lower right notification area to bring up the update manager. Follow the prompts to update the utility and system packages.
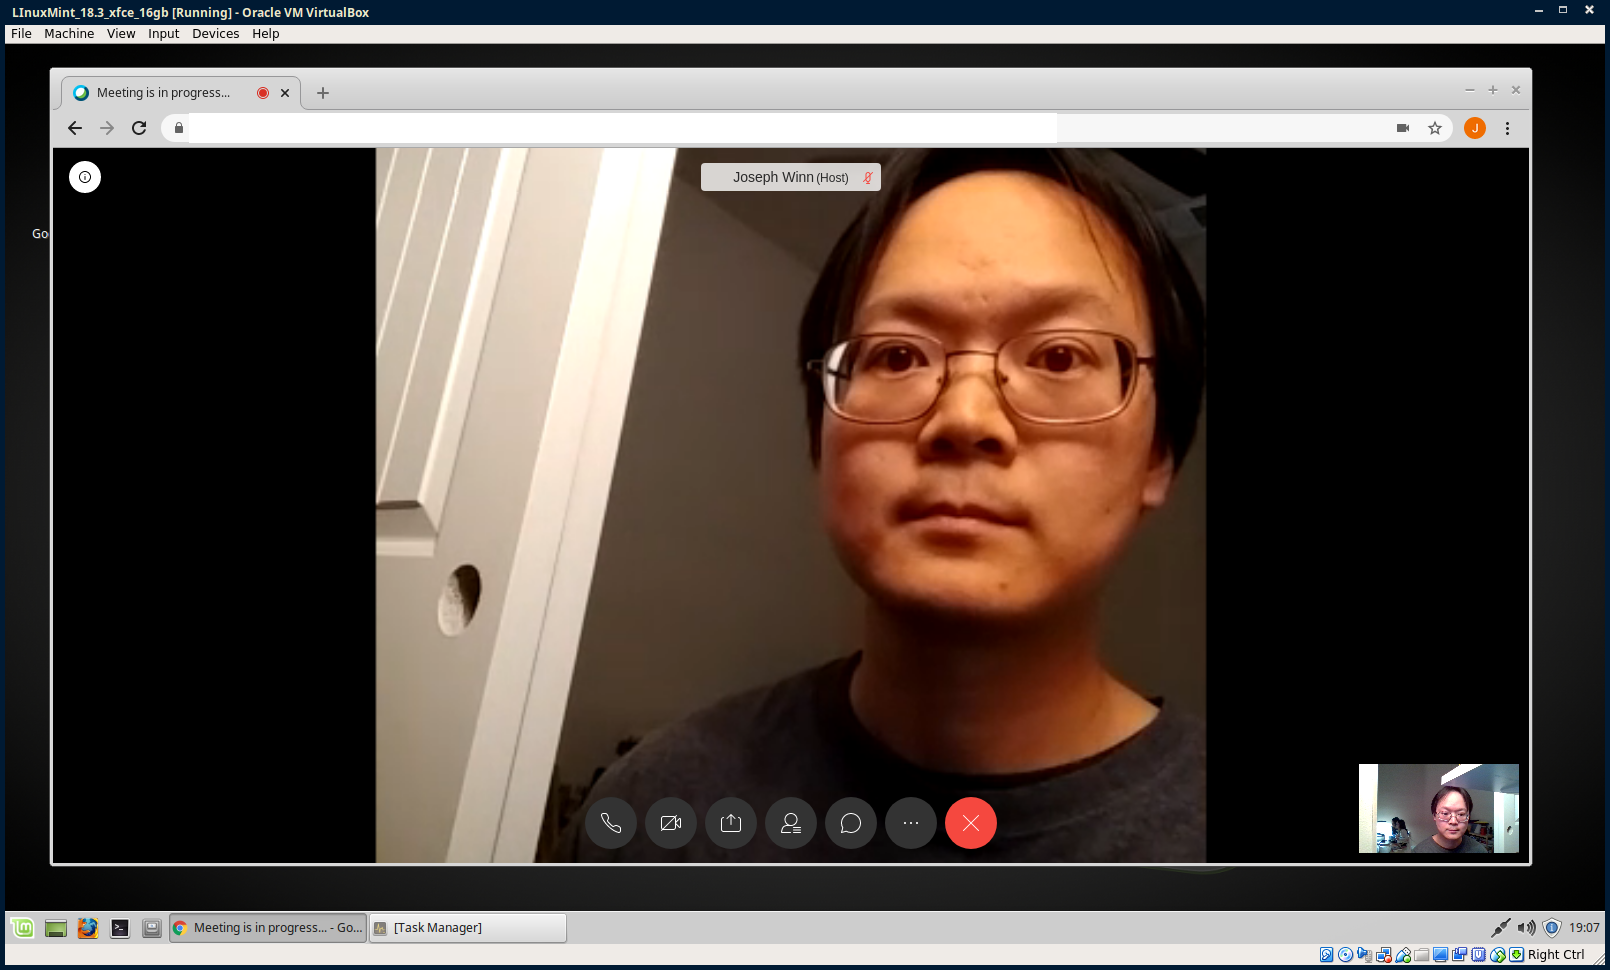
From here, you can certainly use the installed Firefox browser to access web resources, download and install Chrome if you wish, and access conference via web browser.
For WebEx, the limited testing I did with my account indicates positive potential.
For Zoom (yea, yes I know…), well I had some stability issues running within the browser within the VM earlier and ended up first resorting to using browser on the Host side (real) computer. Ultimately I ended up running their desktop client so I could see all videos (gallery view) at the same time…then uninstalled it.
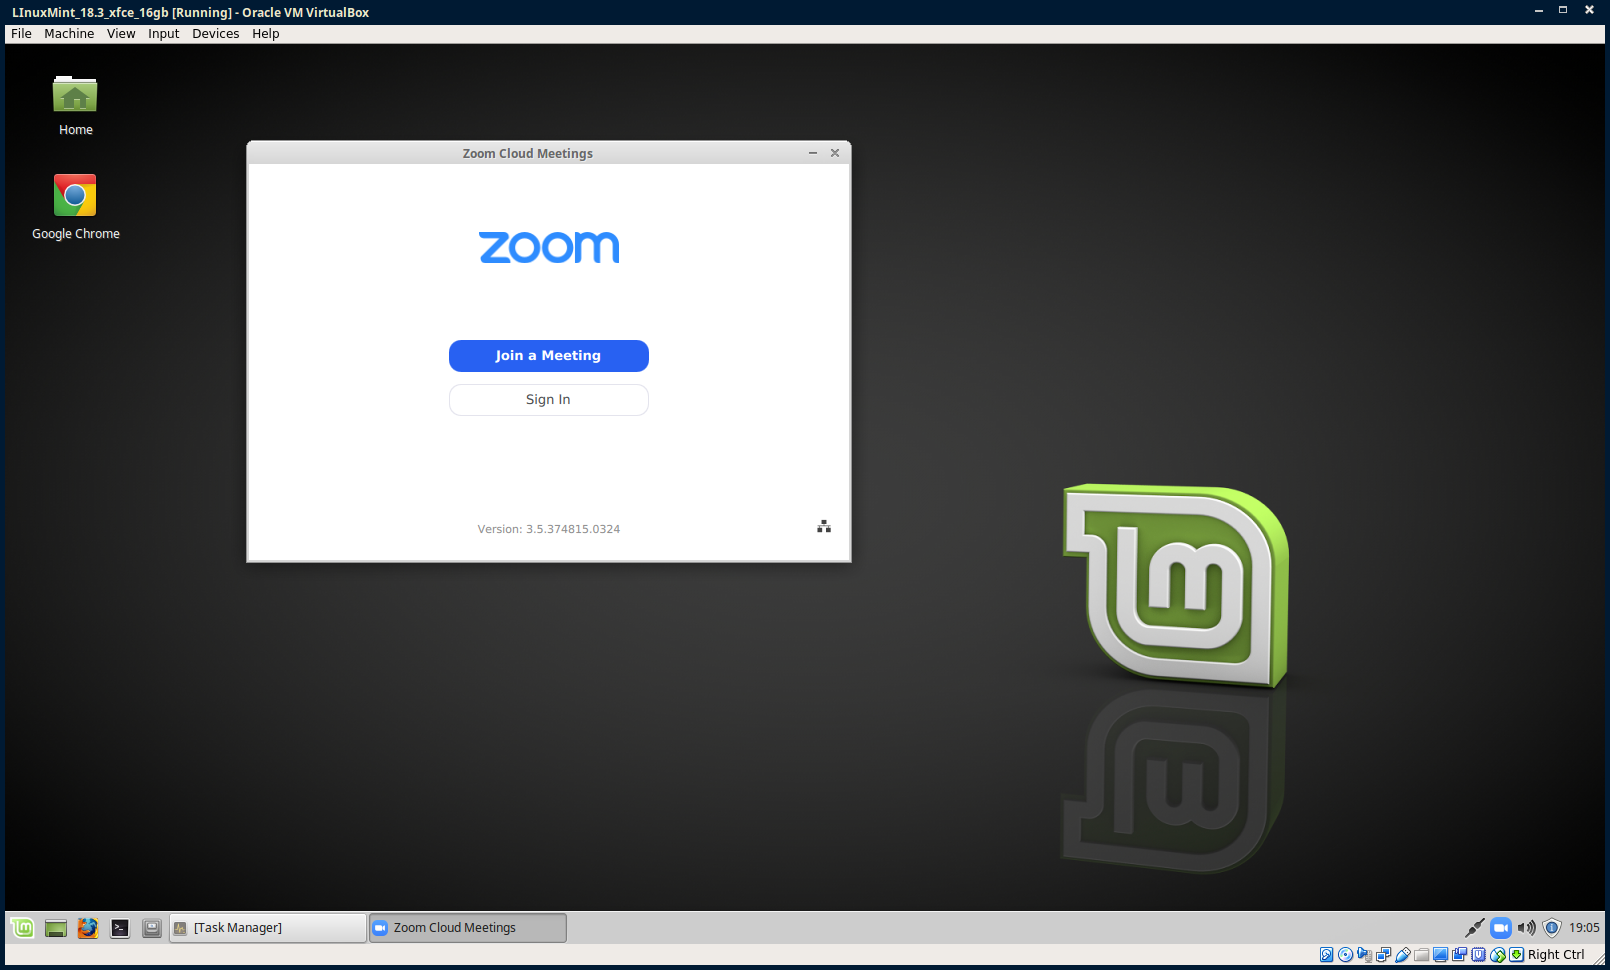
I did install the Zoom application within the VM for next Zoom meeting. You can find the download on their website.
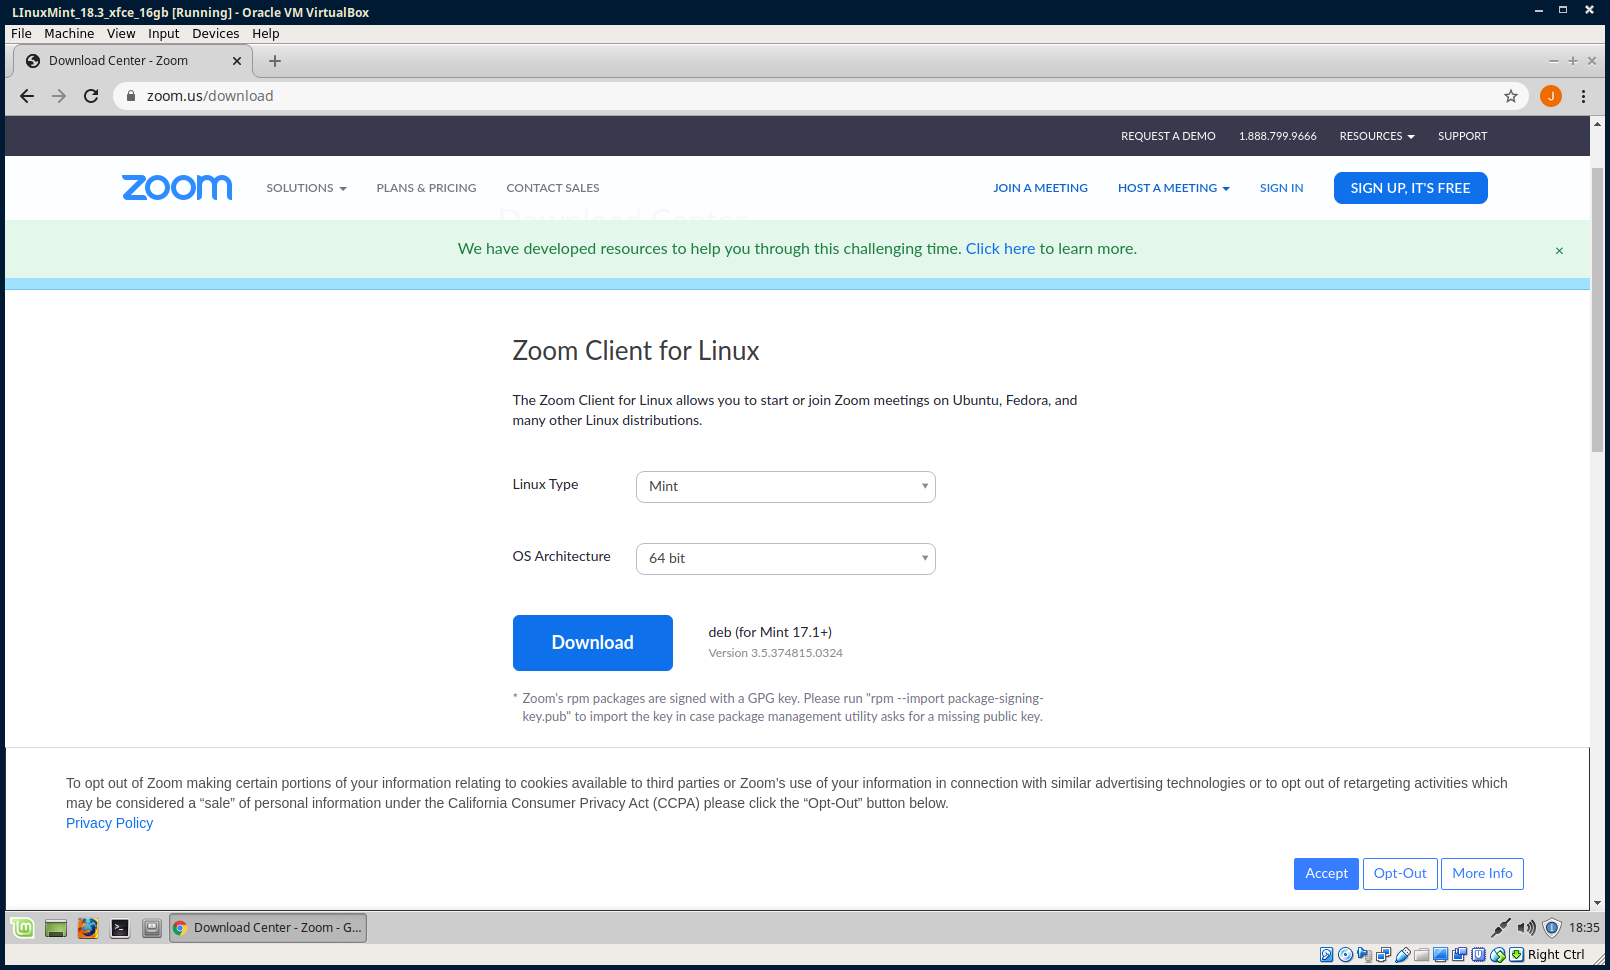
Once installed and launched, you get option to join meeting.
Virtualization is quite nifty for containerizing not only for running dodgy conference applications, but its also good for multi-platform testing and computer consolidation. VirtualBox is certainly not the only player in VMs (see VMware and Parallels) and you have your choices in Host and Guest systems.